When working with structural members in SOLIDWORKS, the default library might not always meet your project requirements. Whether you’re designing a custom frame, machine structure, or fabrication model, adding your own profiles can save time and standardize your workflow.

In this blog, we’ll walk you through how to create and add custom profiles to the SOLIDWORKS Weldments library. When working with structural members in SOLIDWORKS, the default library might not always meet your project requirements. Whether you’re designing a custom frame, machine structure, or fabrication model, adding your own profiles can save time and standardize your workflow.
In this blog, we’ll walk you through how to create and add custom profiles to the SOLIDWORKS Weldments library.
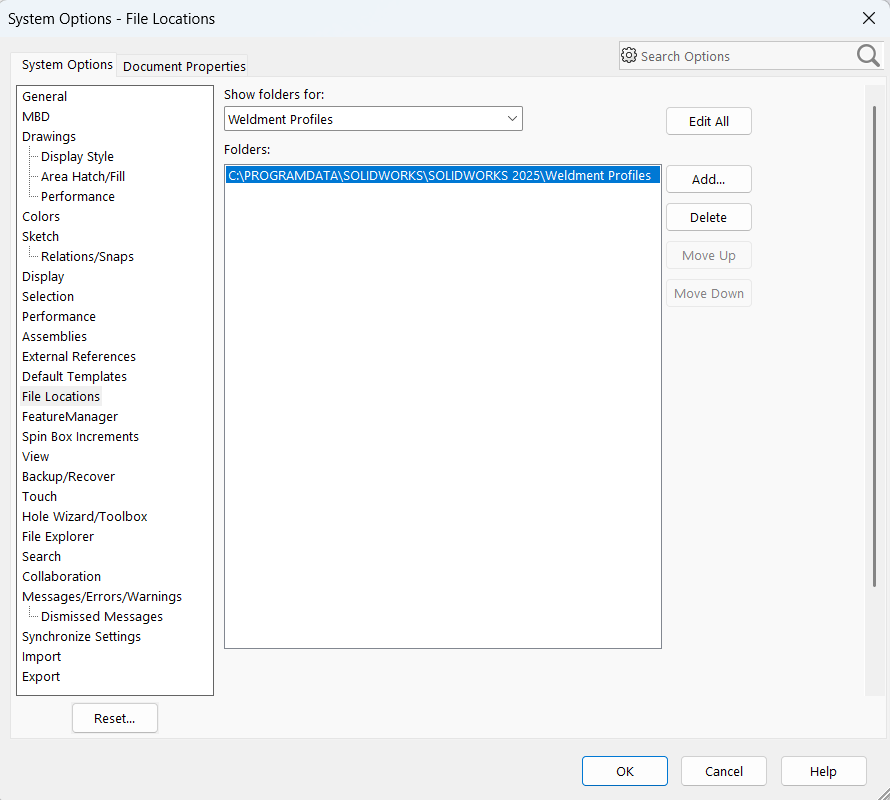
Step 1: Locate the Weldment Profiles Folder
- Open SOLIDWORKS.
- Go to:
Tools → Options → System Options → File Locations - From the dropdown, select Weldment Profiles.
- Note the folder path.
Step 2: Create Folder Structure
- Inside the Weldment Profiles directory, create this structure:
- For eg:“Weldment profile” > “SIMTEK”
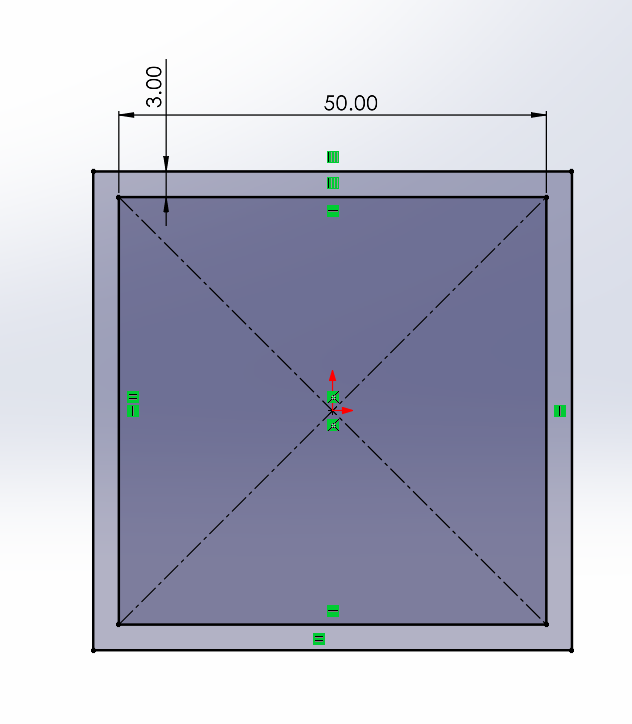
Step 3: Create a New Profile Sketch
- Open a new part file
- Select the Front Plane (or any plane)
- Create a 2D sketch of your profile
- Example: square tube, angle, channel
- Fully define the sketch using dimensions
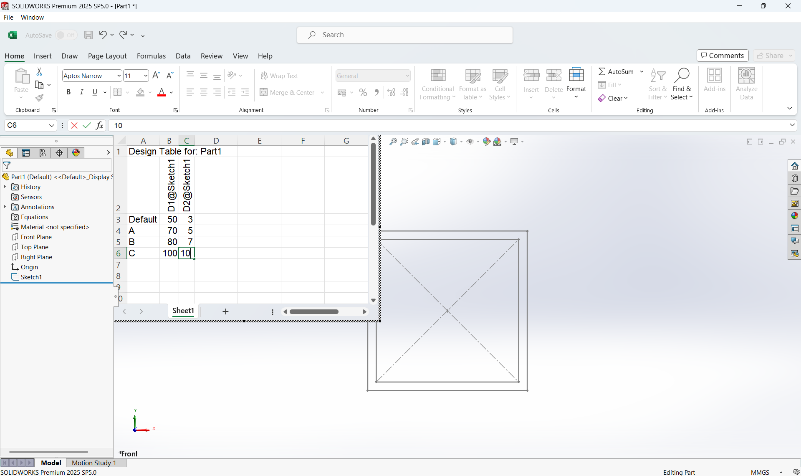
Step 4: Create configuration for the sketch
- By using the excel design table create the configuration for the sketch drawn to make the custom weldment profile.
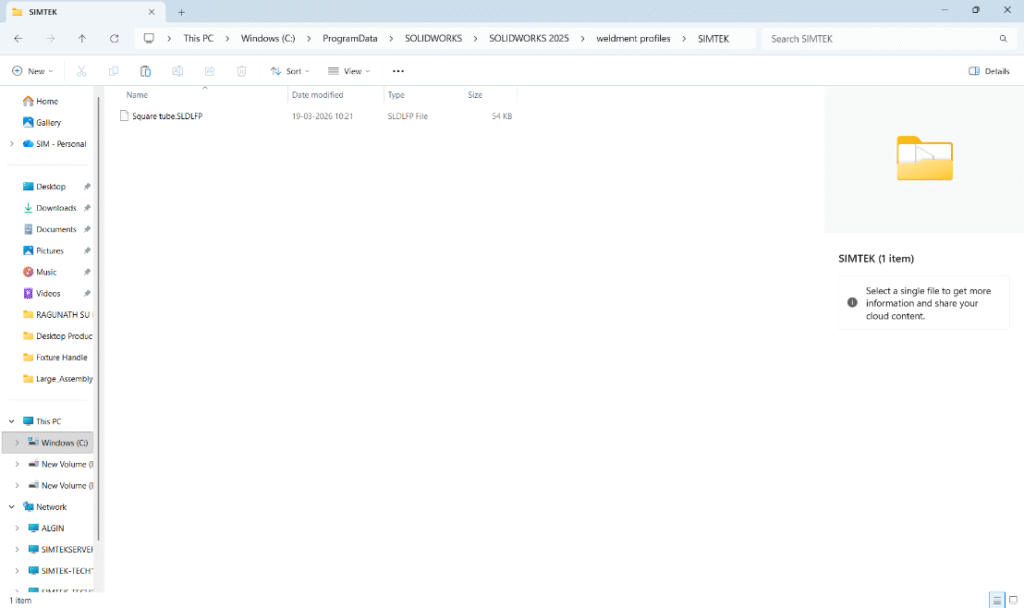
Step 5: Save as Library Feature Part (.SLDLFP)
- Go to File → Save As
- Select file type:
- Lib Feat Part (*.sldlfp)
- Save it inside your created folder (Size folder)Go to File → Save As
- Select file type:
Lib Feat Part (*.sldlfp) - Save it inside your created folder (Size folder)
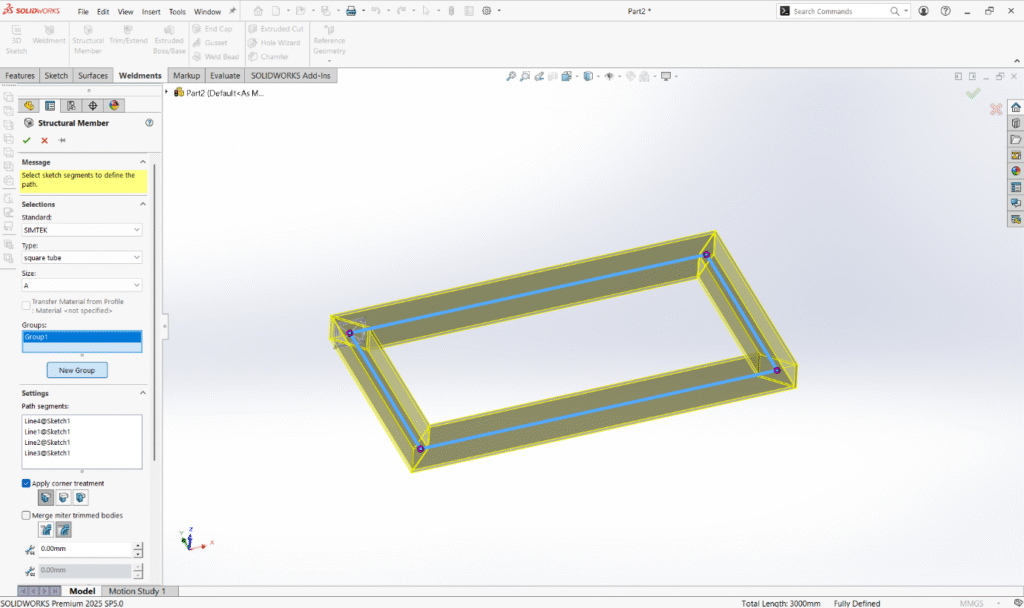
Step 7: Use the Custom Profile
- Open a part.
- Go to Weldments → Structural Member.
- Browse:Standard → Type → Size.
- Select your custom profile.
- Apply it to sketch paths.
Conclusion:
Adding custom profiles to the SOLIDWORKS library is a simple yet powerful way to standardize your designs and boost productivity. Once set up, it becomes a one-time effort that saves hours in future projects.