Introduction
Accurate weight calculation is a critical part of modern electrical and mechanical design. In panel design, machine layout, and equipment manufacturing, incorrect weight data can lead to structural issues, handling problems, and inaccurate documentation. SOLIDWORKS Electrical addresses this challenge through the Manufacturer Part Weight property, which plays an important role in Electrical–Mechanical 3D integration.
This article explains what Manufacturer Part Weight is, how it works with 3D integration, and why it is essential for reliable design data.

What Is Manufacturer Part Weight?
Manufacturer Part Weight is a parameter defined at the manufacturer part level in the SOLIDWORKS Electrical catalog. It represents the real-world weight of an electrical component, typically taken from the manufacturer’s datasheet.
Once assigned, this weight becomes part of the component’s metadata and is used throughout the electrical project, including reports, bills of materials (BOMs), and 3D integration.
Role in SOLIDWORKS Electrical 3D Integration
When SOLIDWORKS Electrical is integrated with SOLIDWORKS 3D CAD, electrical components can be placed directly into 3D assemblies such as panels, cabinets, or machines.
During this integration:
The electrical component is linked to a corresponding 3D part or assembly
The Manufacturer Part Weight is transferred to the 3D model
The overall assembly mass properties reflect the defined electrical weight
This ensures that the mechanical assembly weight matches the actual manufactured product, even if the 3D model geometry is simplified.
Step-by-Step Process: Defining Manufacturer Part Weight
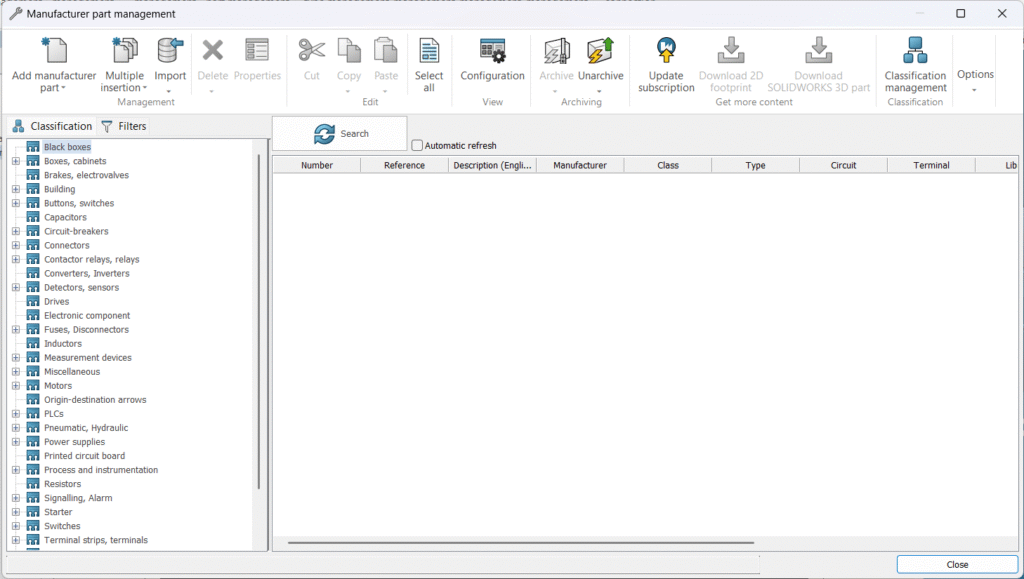
Step 1: Open Manufacturer Part Management
Navigate to Libraries > Manufacturer Parts Management in SOLIDWORKS Electrical.
Manufacturer Part Management dialog accessed from the SOLIDWORKS Electrical Libraries menu.


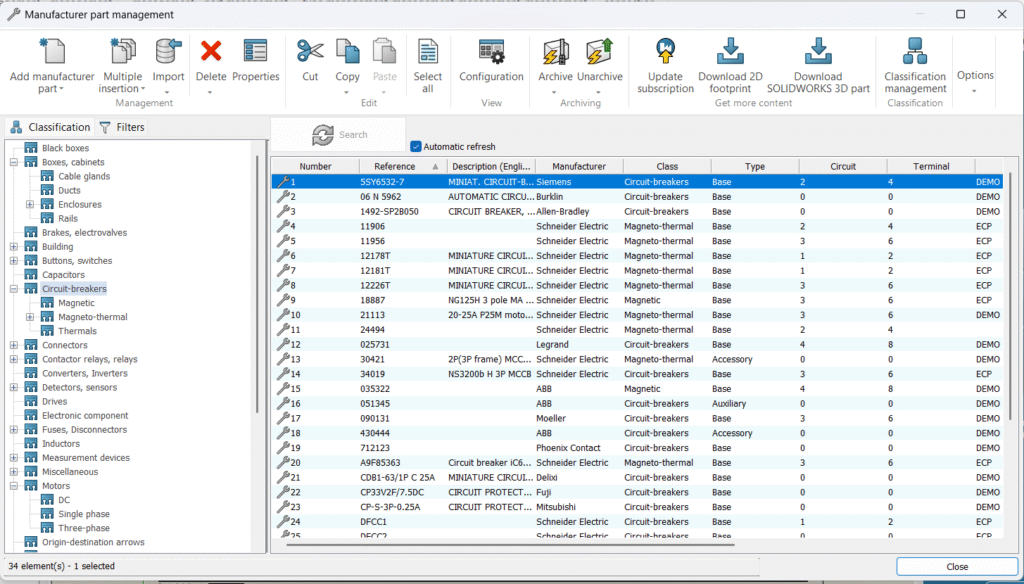
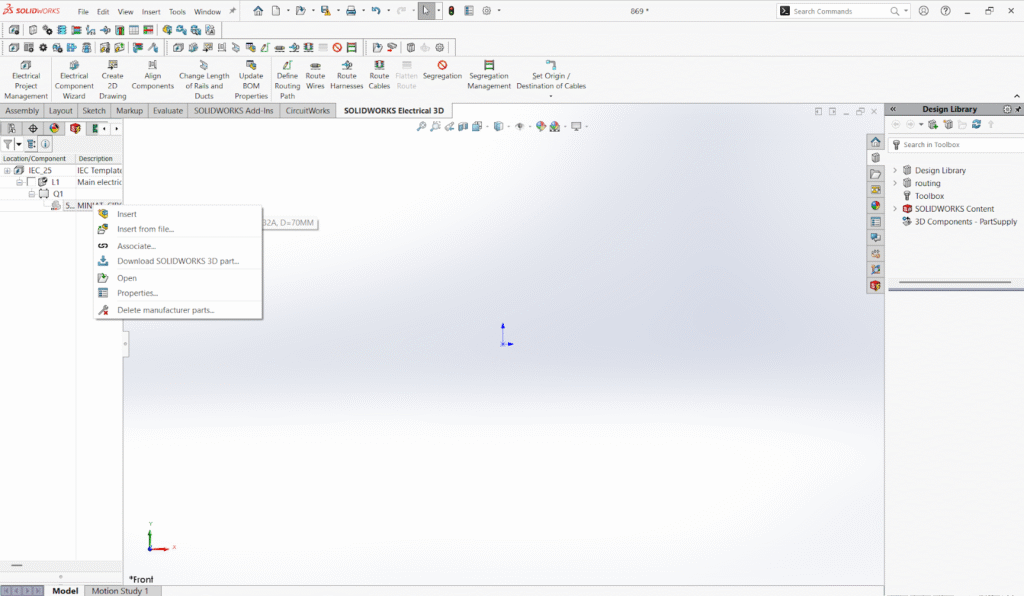
Step 2: Select or Create a Manufacturer Part
Select an existing manufacturer part from the catalog or create a new one that matches the electrical component used in the project.
Manufacturer Part list showing available components and part creation options.
Step 3: Enter the Weight Value
In the manufacturer part properties, locate the Weight field and enter the actual component weight based on the manufacturer’s datasheet.
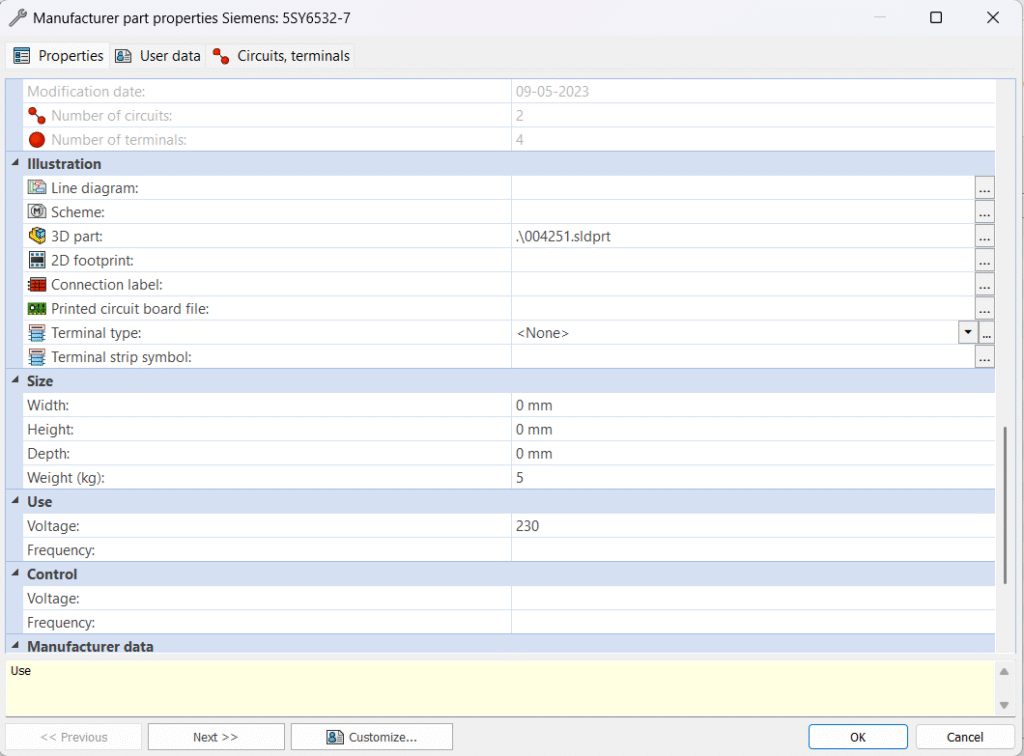
Manufacturer Part Properties dialog highlighting the Weight field.
Step 4: Assign the 3D Model
Associate the manufacturer part with a corresponding SOLIDWORKS 3D part or assembly. This link enables synchronization between electrical and mechanical designs.
3D model association tab showing linked SOLIDWORKS part file.

Step 5: Place the Component in a 3D Assembly
Insert the electrical component into a SOLIDWORKS 3D assembly such as a control panel, cabinet, or machine layout.
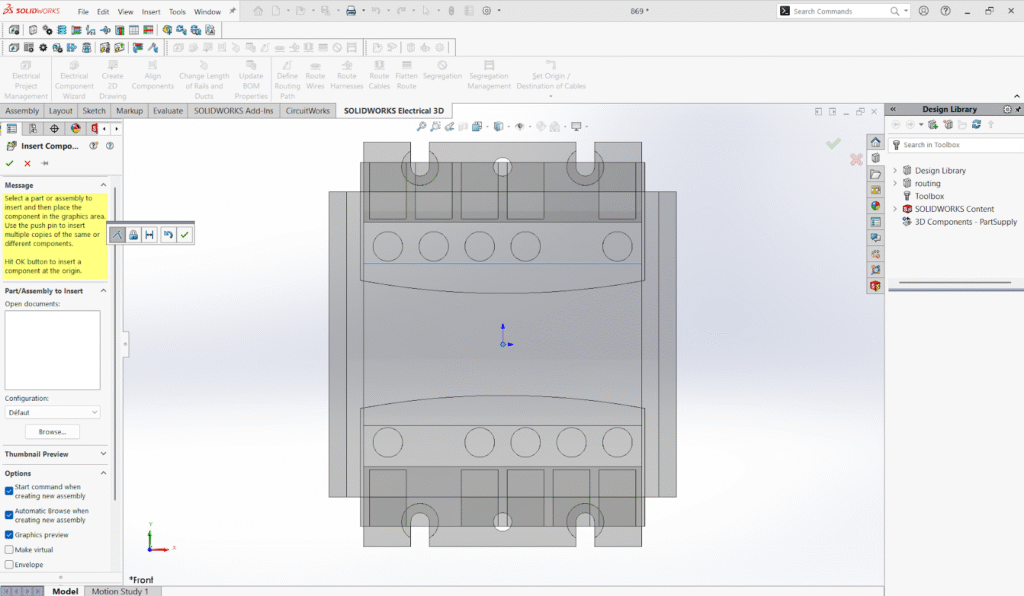
Electrical component placed in a SOLIDWORKS 3D panel or enclosure assembly.
Step 6: Verify Assembly Mass Properties
Open the Mass Properties tool in SOLIDWORKS 3D to confirm that the manufacturer part weight is included in the total assembly weight.


SOLIDWORKS Mass Properties window showing total assembly weight
Once placed, the defined manufacturer part weight is automatically included in the overall assembly mass without additional manual calculations.
Best Practices
Always use datasheet-based weights rather than estimated values
Keep unit settings consistent across electrical and mechanical projects
Update manufacturer parts centrally to ensure consistency across designs
Use simplified 3D models combined with accurate electrical weight for optimal performance
Conclusion
Manufacturer Part Weight in SOLIDWORKS Electrical is a small but powerful feature that significantly improves design accuracy. By linking real-world component weight to 3D assemblies, engineers can achieve precise mass calculations, reliable documentation, and seamless electrical–mechanical integration.
For projects where accuracy, efficiency, and collaboration matter, properly managing manufacturer part weight is not an optional step—it is an essential part of a professional design workflow.