SOLIDWORKS CONNECTED
If you work with sheet metal in SOLIDWORKS 2025, learning how to create bend notches can save you time and improve your designs. Bend notches help guide bends accurately, reduce setup mistakes, and make your manufacturing process smoother. In this blog, we’ll show you simple, step-by-step methods to add bend notches using SOLIDWORKS Connected, customize their shape and size, and ensure your flat patterns are production-ready.

Boost Your Sheet Metal Workflow: Creating Bend Notches in SOLIDWORKS 2025
In the SOLIDWORKS Desktop My Session Task Pane, new revisions create immediate updates to old revision files. However, when reference components are updated on 3DEXPERIENCE after assembly download, the Task Pane still shows the previous revision. This lesson covers several ways to revise these components.
Creating bend notches in sheet metal parts using SOLIDWORKS 2025 significantly improves manufacturing accuracy and efficiency. Bend notches are small, precise cutouts placed at bend lines to guide operators during the bending process and reduce setup errors.
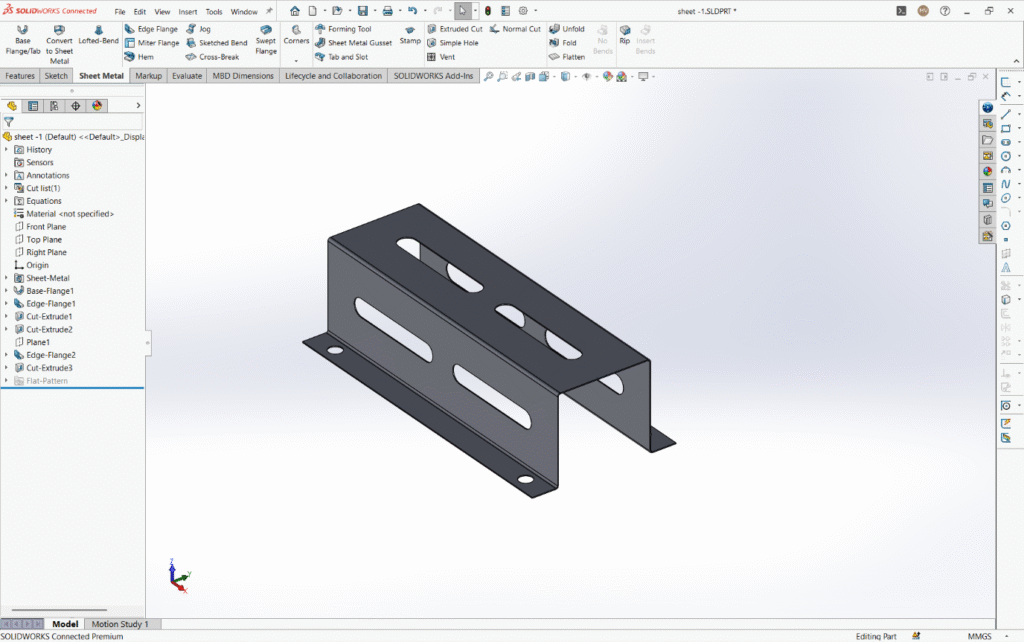
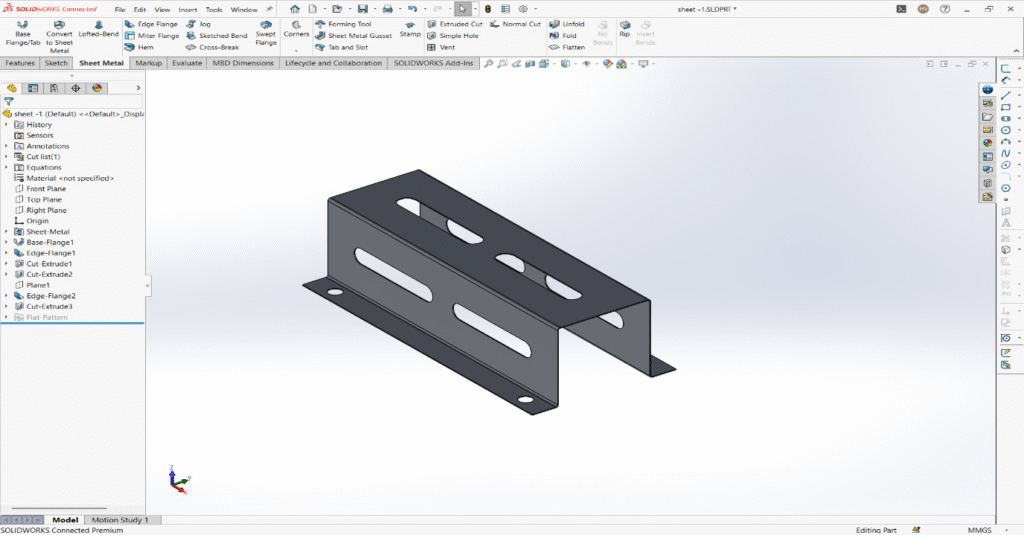
Open Your Sheet Metal Part in SOLIDWORKS Connected
Launch your SOLIDWORKS Connected app from 3DEXPERIENCE.
Start with a sheet metal part that has at least one bend feature.
Well the answer is yes, and it is pretty simple. All you need to do is follow these steps:
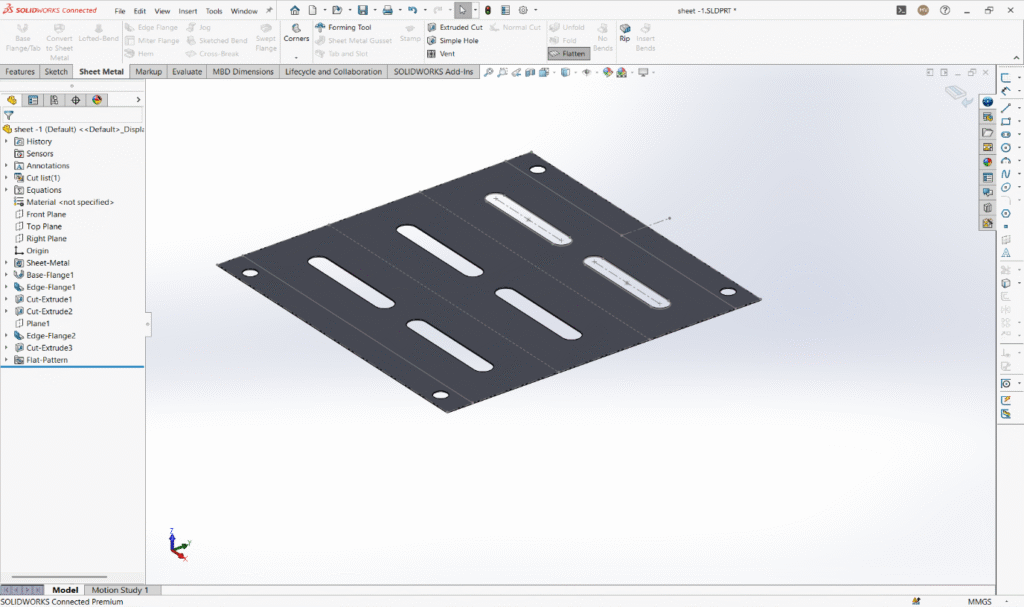
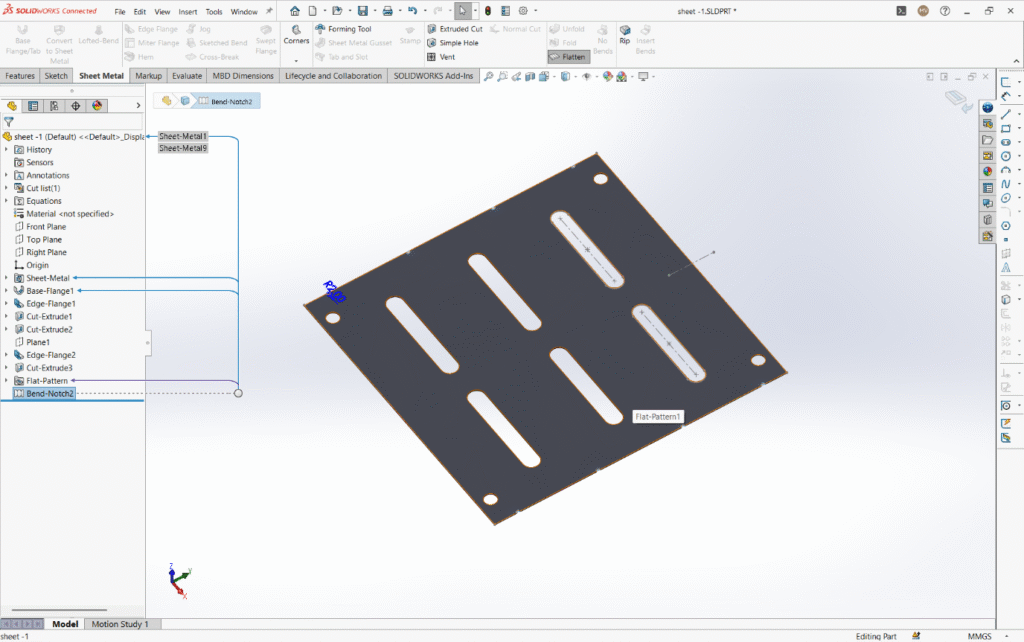
Flatten the sheet metal part
Click the Flatten tool on the Sheet Metal toolbar to switch your part to the flattened state. Bend Notches can only be created and edited in this flattened view.
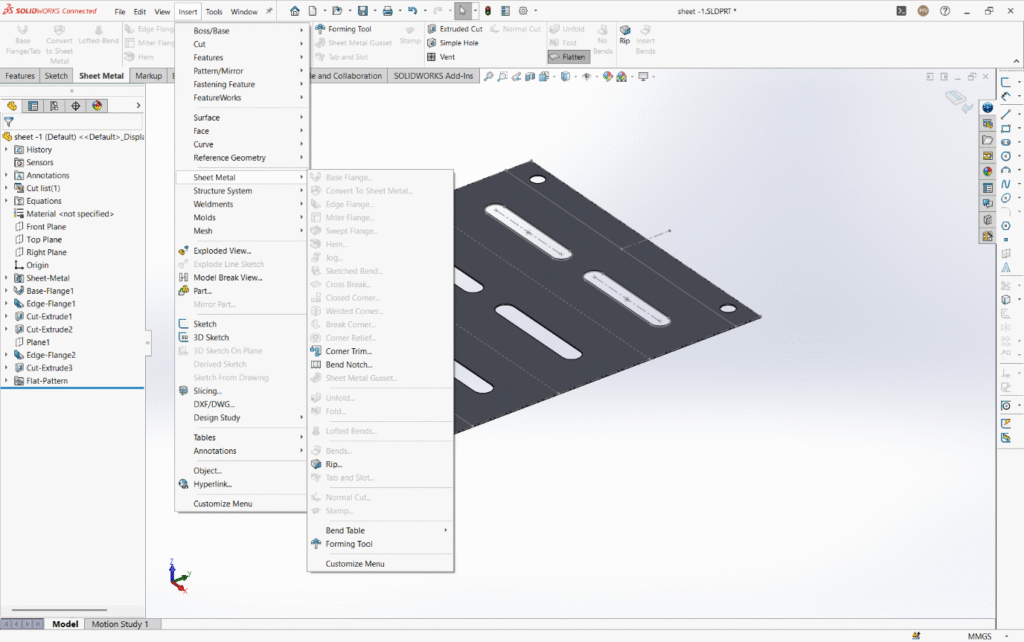
Access the Bend Notch feature
Go to the Sheet Metal toolbar and click Bend Notch.
Alternatively, use the menu path:
Insert > Sheet Metal > Bend Notch
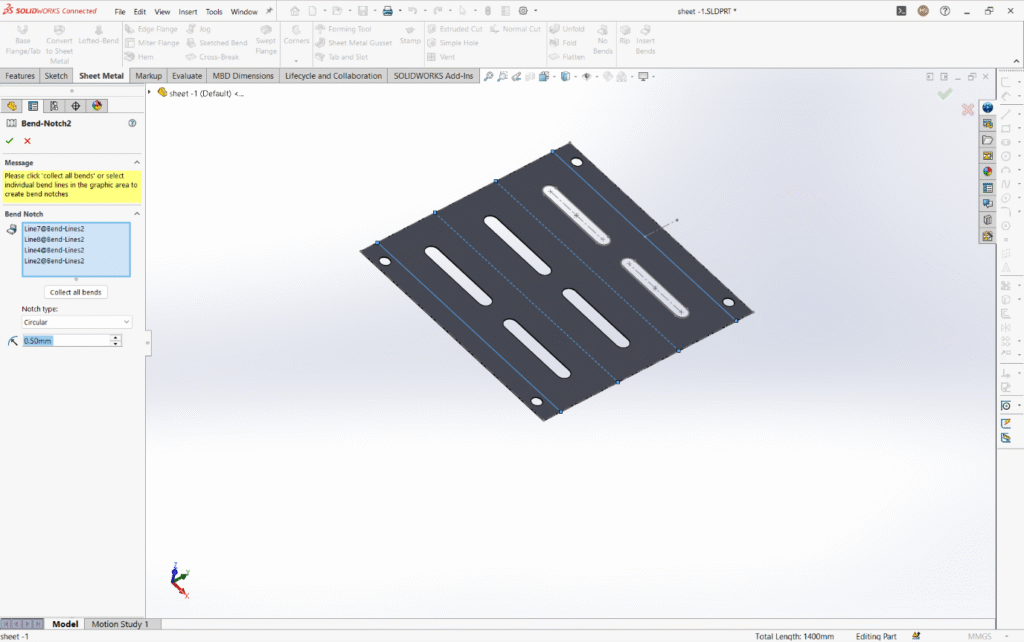
Select the bends to notch
In the graphics area, click on the specific bends where you want to add notches.
You can also use the Select All Bends option to add notches to every bend line in the part simultaneously.
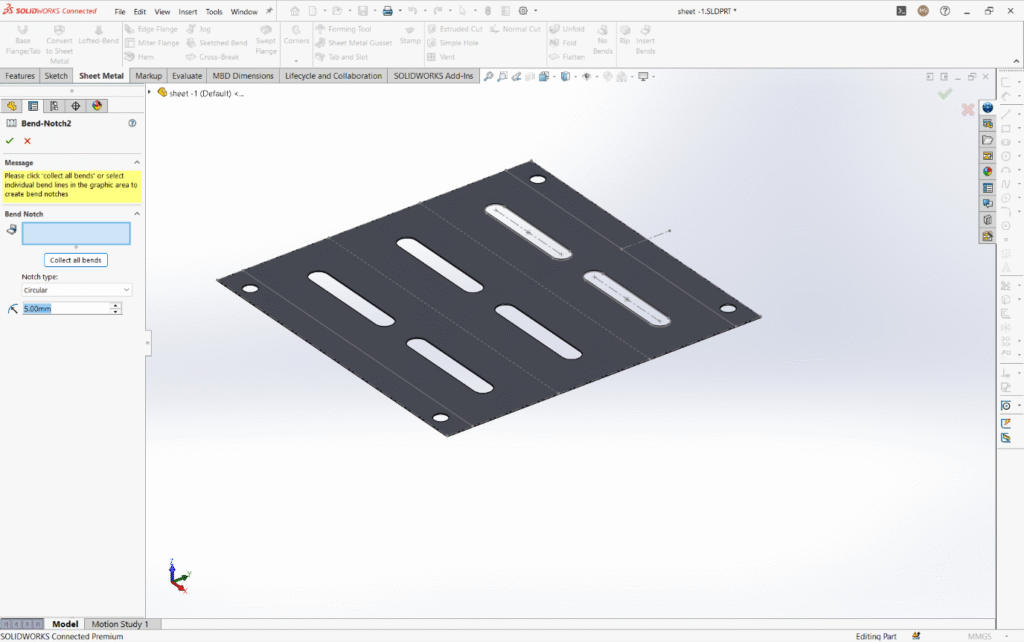
Customize the notch shape and size
In the Bend Notch Property Manager, choose the notch type:
- Triangular
- Circular
- Rectangular
Set the size parameters depending on your chosen shape:
- For triangular and rectangular: specify width and depth
- For circular: specify the radius
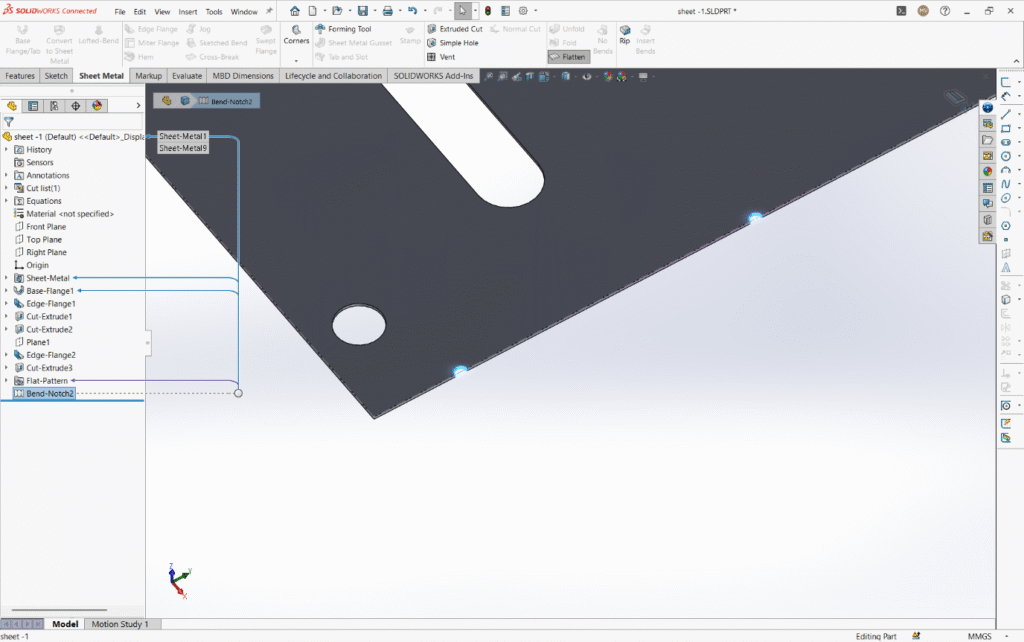
Apply and review notches
Click OK to apply the bend notches.
The notches will be visible on the flattened sheet metal part, acting as visual guides for manufacturing. They do not affect the bent state of the part.
They act as visual guides to assist manufacturing and bending processes
They provide reference only in the flat pattern for better fabrication accuracy
Key tips:
- Bend notches only show in the flattened state, so switch back to the flattened view to edit or review them.
- Customize notch size carefully to ensure visibility without weakening the part.
- Use in combination with corner reliefs and other sheet metal best practices to avoid deformation.
This simple but powerful feature streamlines the bending process, reduces errors, saves material, and improves the quality of sheet metal assemblies.
If you want, I can help summarize or explain differences between the SOLIDWORKS Desktop and the 3DEXPERIENCE Platform or guide you through key features and collaboration capabilities of each system. Just let me know!