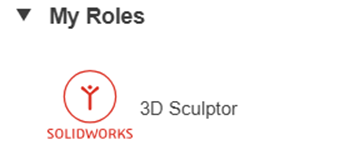
Introduction to 3DSculptor: Create Smooth & Organic 3D Designs
If you are looking for a blog to learn about 3D Sculptor in 3DEXPERIENCE, you’ve come to the right place! 3D Sculptor is a powerful, cloud-based subdivision (Sub-D) modeling tool designed for creating complex, freeform shapes with ease. It features the xShape app, which provides an intuitive push-pull modeling approach, making it ideal for designers, engineers, and artists who need to create organic and ergonomic designs quickly.
With 3D Sculptor, you can model directly in a web browser, collaborate in real-time, and seamlessly integrate with other 3DEXPERIENCE roles like 3D Creator (xDesign) for a smooth design workflow. Whether you’re new to subdivision modeling or an experienced designer, this blog will guide you through the key features and steps to get started with xShape, helping you bring your creative ideas to life effortlessly.

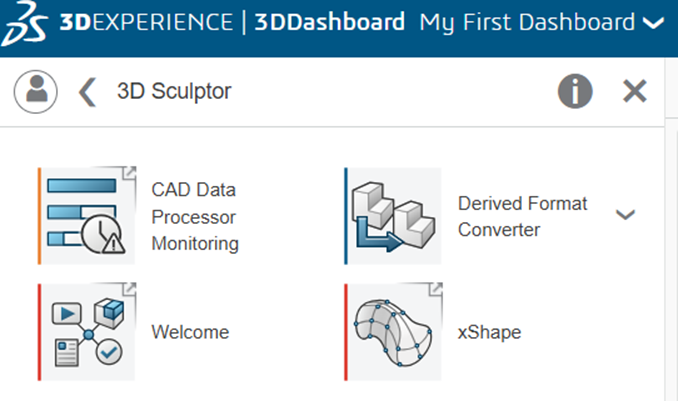
3D Sculptor is a role on the 3DEXPERIENCE platform that contains the xShape app for 3D modeling. Create complex surfaces using intuitive push-pull interaction. Use images and sketches as templates to create 3D surface modeling. Automatically convert subdivision surfaces to geometry when finished.
xShape is browser-based freeform modeling on the 3DEXPERIENCE platform. It provides sub-D modeling capabilities for xDesign customers.
For industrial design professionals, xShape provides the following key capabilities:
- Single Modeling Environment.
- Primitive based sub-D modeling.
- Import images to use as templates for modeling.
Step 1: Drag and drop x shape app from compass
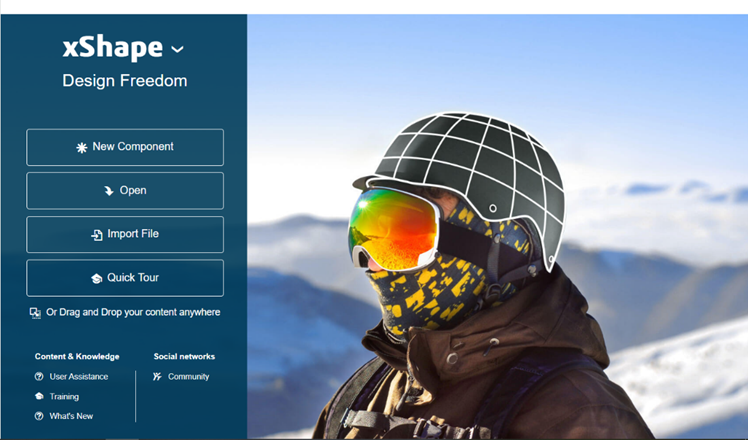
Step 2: Click import file or open to open existing file. If you wants to create new component click new component option.
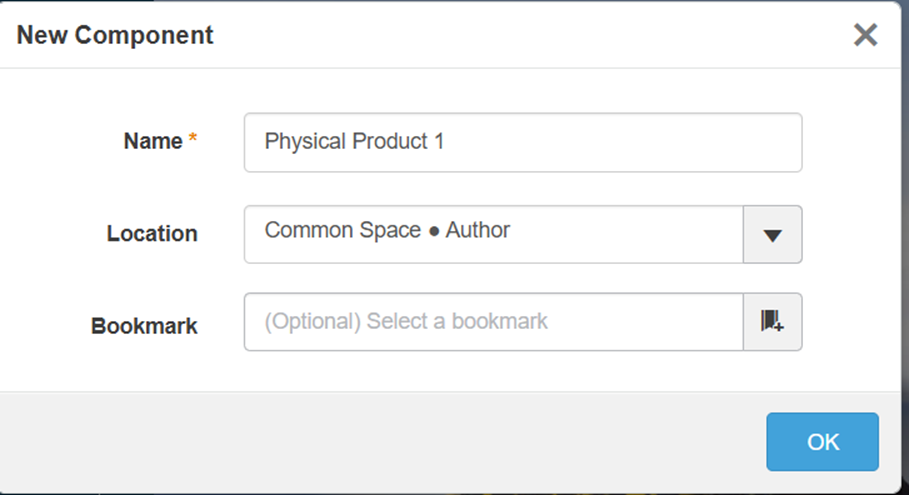
Step 3: Enter part name and select custom location in bookmark

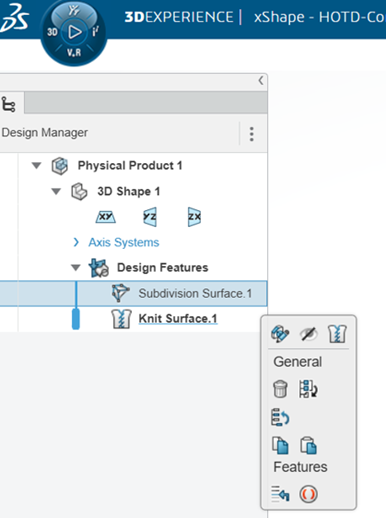
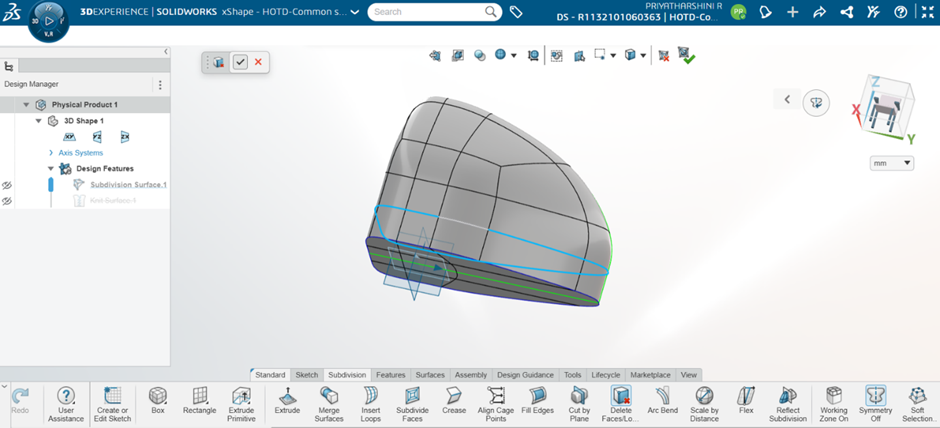
Step 4: Select subdivision tab to create a part
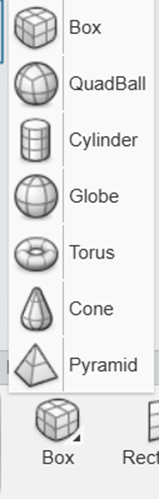
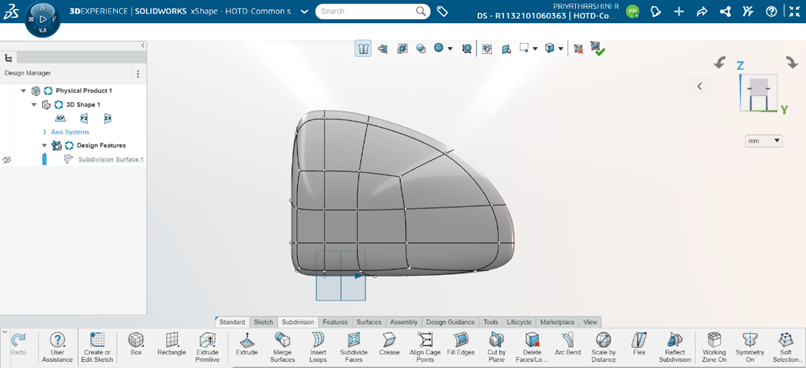
You can create a component based on the shape of a box, then customize that shape into a unique design.
Step 5: From the Subdivision section of the action bar, click Box
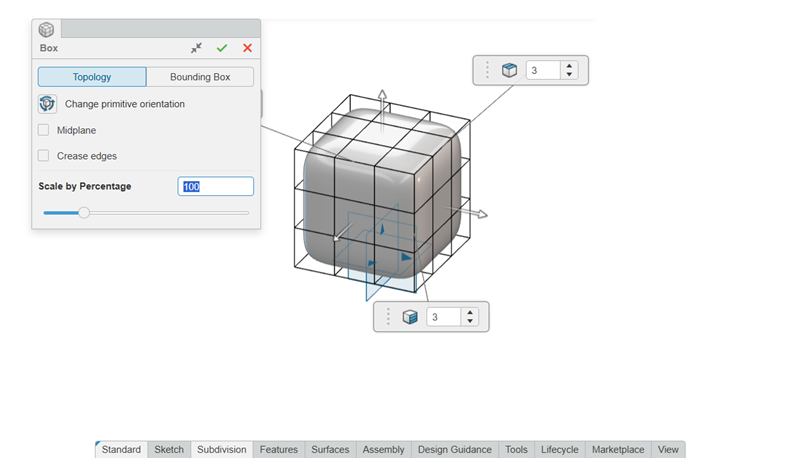
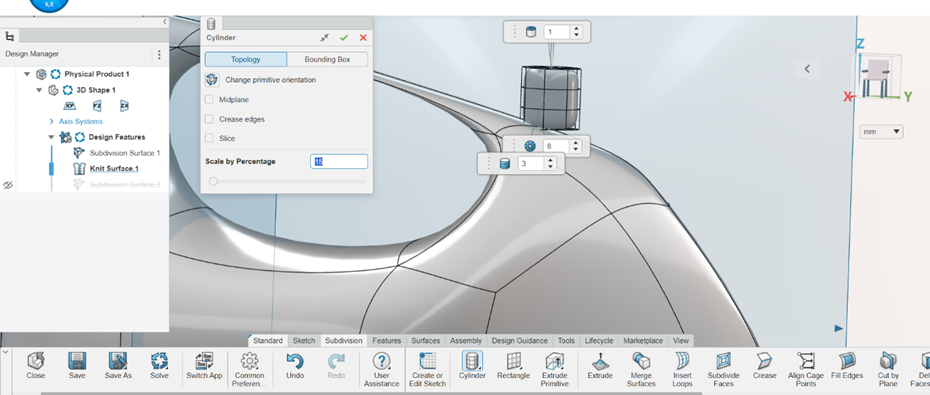
Step 6: Click box tool and fix location. To make additional changes to the topology of the subdivision shape, in the Box dialog box, click Topology and specify the following:
| Option | Description |
| Change primitive orientation | Cycles through the standard orientations available to use as the reference. |
| Midplane | Extends the subdivision shape equally in both directions from the reference plane. |
| Crease edges | Creases the edges of the subdivision shape so that it no longer has round corners. |
| Scale by Percentage | Scales the subdivision shape by a percentage value. |
| X/Y/Z Segments | Changes the number of subdivisions in the X, Y, or Z direction.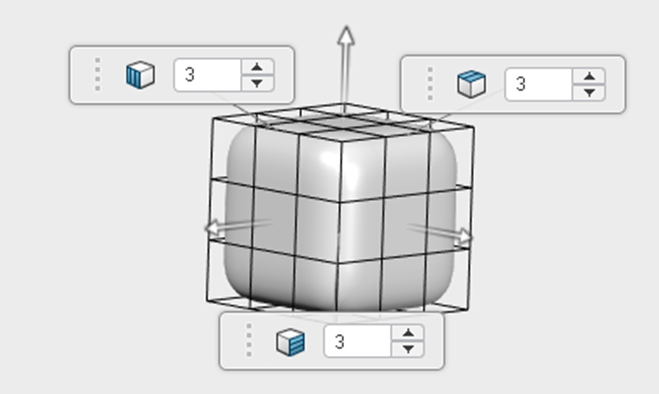 |
Step 7: To adjust the size and proportions of the subdivision shape, in the Box dialog box, click Bounding Box and specify the following:
| Option | Description |
| Change primitive orientation | Cycles through the standard orientations available to use as the reference. |
| Non-uniform scale | Off: Scaling the subdivision shape along one axis is applied equally along the other axes.On: The subdivision shape can be scaled independently along X, Y, or Z. |
| Along X/Y/Z | Scales the subdivision shape along the X, Y, or Z axis. |
| Scale by Percentage | Scales the subdivision shape by a percentage value. |
Step 8: Click ok.
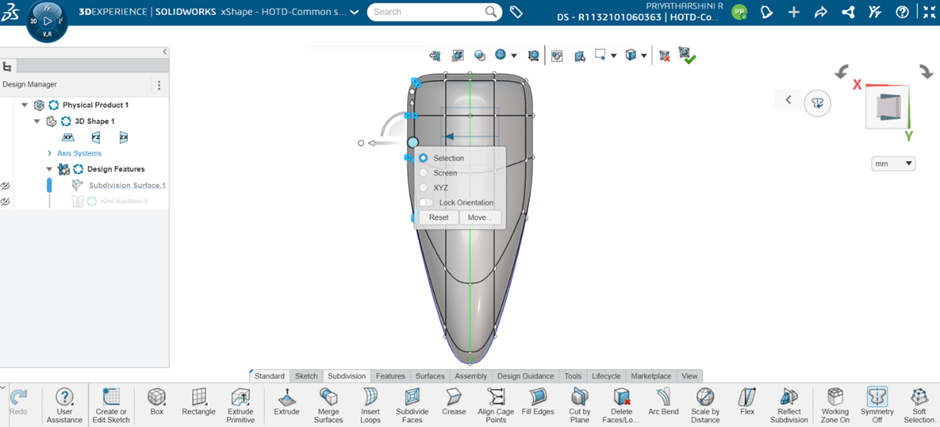
Step 9: To change the position of the subdivision shape, drag the Robot arrows.

Step 10: click edit button in design manger
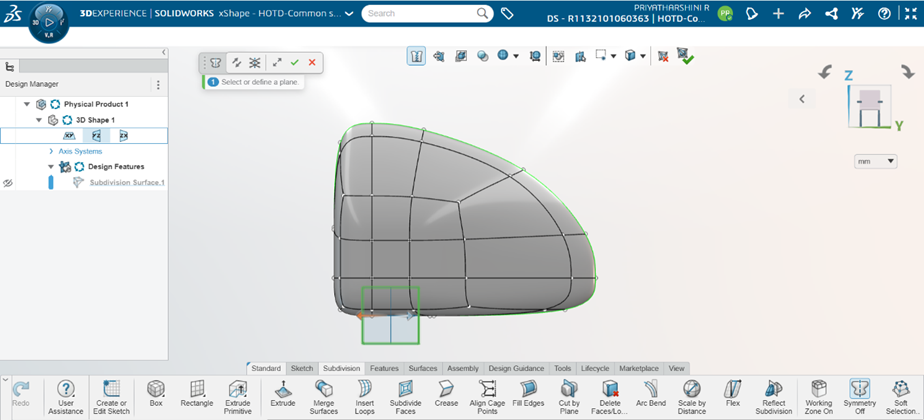
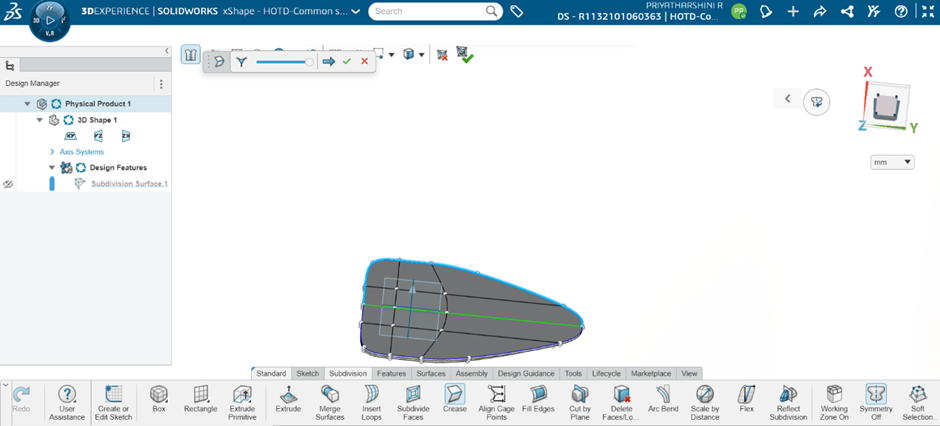
Step 11: click symmetry option.
Step 12: Select plane to as per requirements.
Step 13: Select crease option for adjusting edge as and faces
Step14: Choose the “Delete Face” tool. Mesh faces and loops on a subdivision object can be removed.
Step15: Use the box selection method to choose faces, then click the middle button to alter the axis.
Step16: You can extrude the laminar edges or mesh faces of a subdivision object to create more advanced subdivision objects.
Note: single face selection is used to extrude from selected face. Double side face to remove face.
Step 17: You can scale a subdivision body uniformly or non-uniformly using Scale By Distance.

Step 18: Using multiple shape for multiple bodies to achieve shape
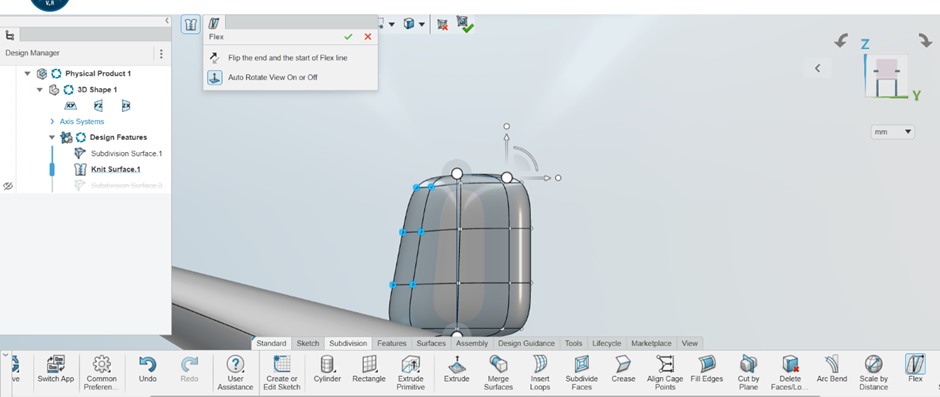
Step19: You can flex and shape subdivision objects along an axis line.
Step 20: To click feature tab and access combine tool for connecting two bodies
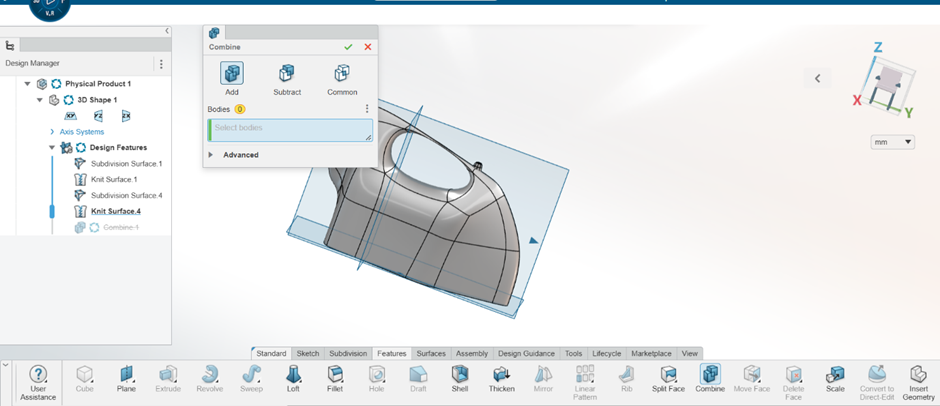
Step 21: click ok to continue.
Step 22: Create a body with help of feature tab.
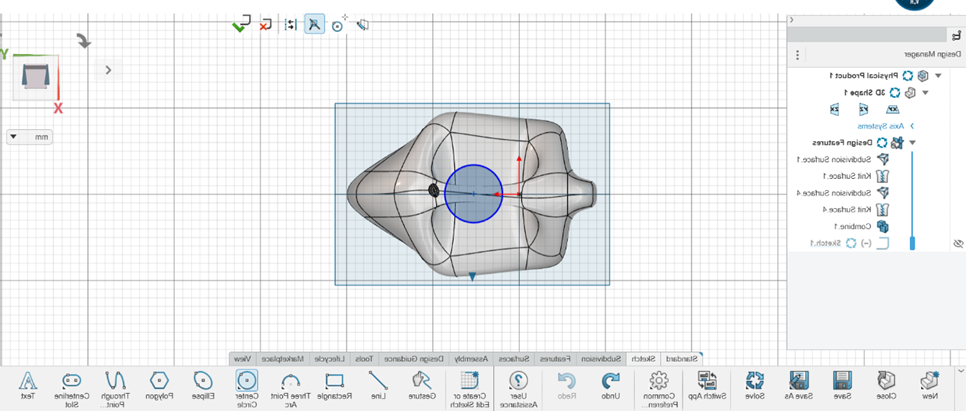
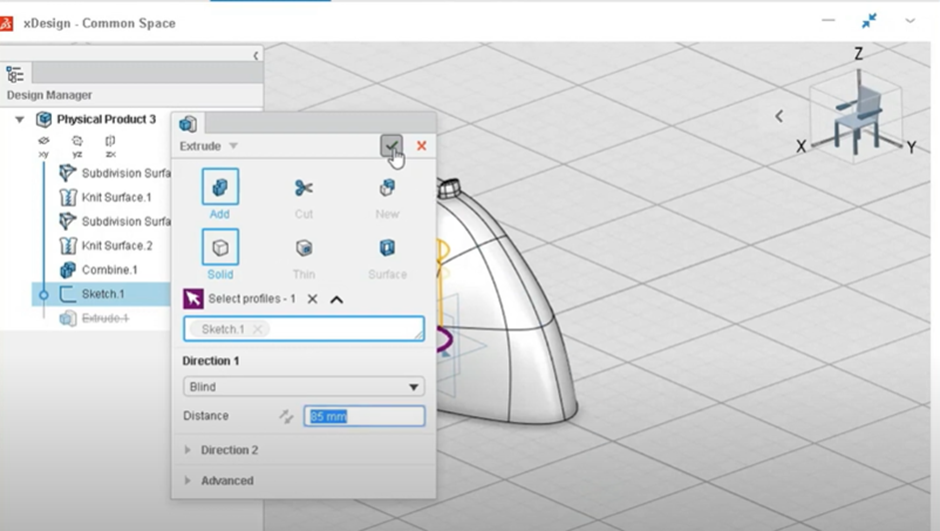
Step 23: After creating sketch click extrude to create bodies.
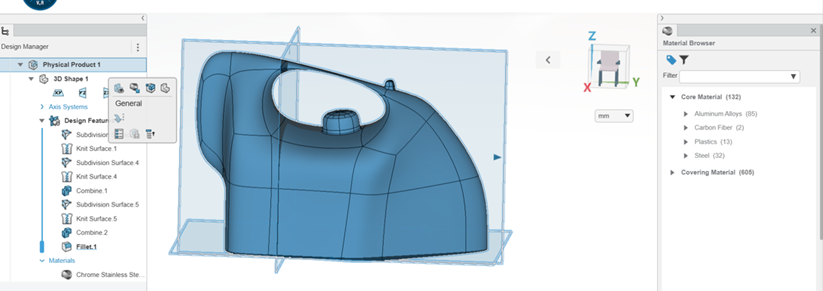
Step24: Click product name and add material .
Step 25: click ok to complete a part.
Compared to typical subdivision tools, 3DEXPERIENCE 3D Sculptor Role is a browser-based 3D subdivision modeling solution that helps engineers, artists, and industrial designers produce stylish, ergonomic, or organically shaped models more quickly and easily.