Transforming STL Files into SOLIDWORKS Solids or Surfaces for Effective 3D Editing

In the SOLIDWORKS Desktop My Session Task Pane, new revisions are created, and the old revision’s files are immediately updated. When reference components are updated on the 3DEXPERIENCE Platform after the assembly has been downloaded, they continue appearing in the Task Pane as the previous revision. This lesson demonstrates the many approaches to revising these components.
You can import STL files into SOLIDWORKS as solid or surface models rather than just graphic bodies by using specific import options available in the software. Here’s a detailed step-by-step process and important considerations:
Well the answer is yes, and it is pretty simple. All you need to do is follow these steps:
- Start SOLIDWORKS and click Open
Once the SOLIDWORKS main window appears, locate the menu bar at the top.
Click on the File menu.
From the dropdown list, select Open.
This action opens the file dialog box where you can browse files to open in SOLIDWORKS.
Alternatively, you can click the Open icon on the Standard toolbar (often shown as a folder icon).
You may also use the keyboard shortcut Ctrl + O to open this dialog quickly.
- Change the file type to STL (*.stl)
After the Open dialog box appears (from step 1), look towards the bottom right corner of the dialog.
Find the dropdown menu labeled “Files of type” or simply “Type”. This menu lists all the supported file formats.
Click the dropdown arrow to expand the list of file formats.
Scroll through the list and select STL (*.stl) from the available file types.
Once selected, the dialog box will now filter and show only files with the .stl extension in the browse window.
You can now browse to the folder containing your STL file to select it for import.
- Notice that a new Options button is available now. Click on it.Browse to the STL file you want to import and click Open.
Click the Options button to open the STL Import Options dialog.
This dialog allows you to choose how SOLIDWORKS imports the STL file (as a Solid Body, Surface Body, or Graphics Body), and provides other settings related to mesh handling.
Take your time reviewing and adjusting these options before proceeding to open the file.
- Change import body to Solid Body or Surface Body and press OK.
In the STL Import Options, select Solid Body to attempt converting the mesh into a fully editable solid model, or Surface Body to import the file as surfaces that can be later stitched or repaired. Importing as a solid is ideal for smaller, simpler files;
5. If you look at the Feature Manager Design Tree you can now see that the part is imported
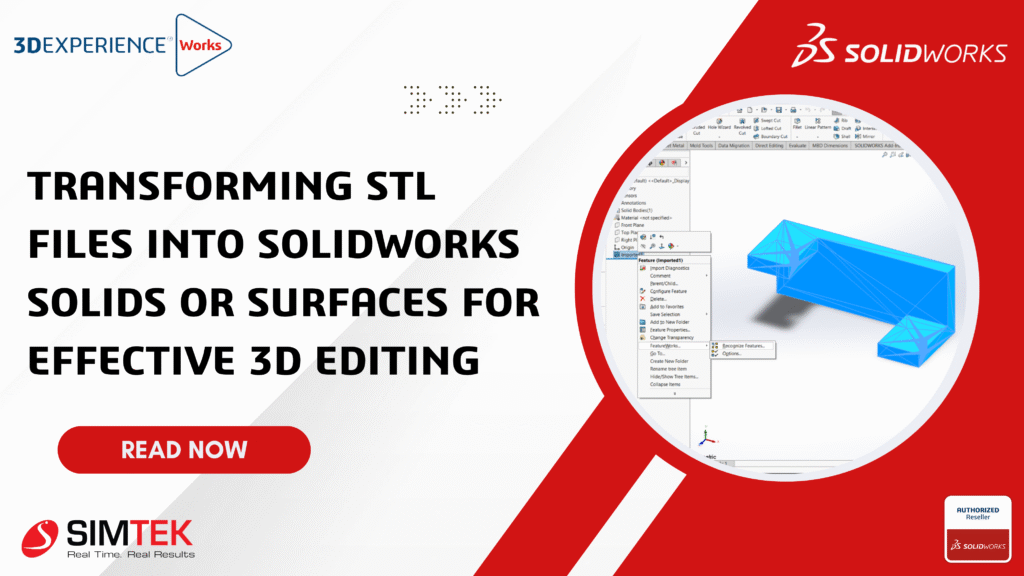
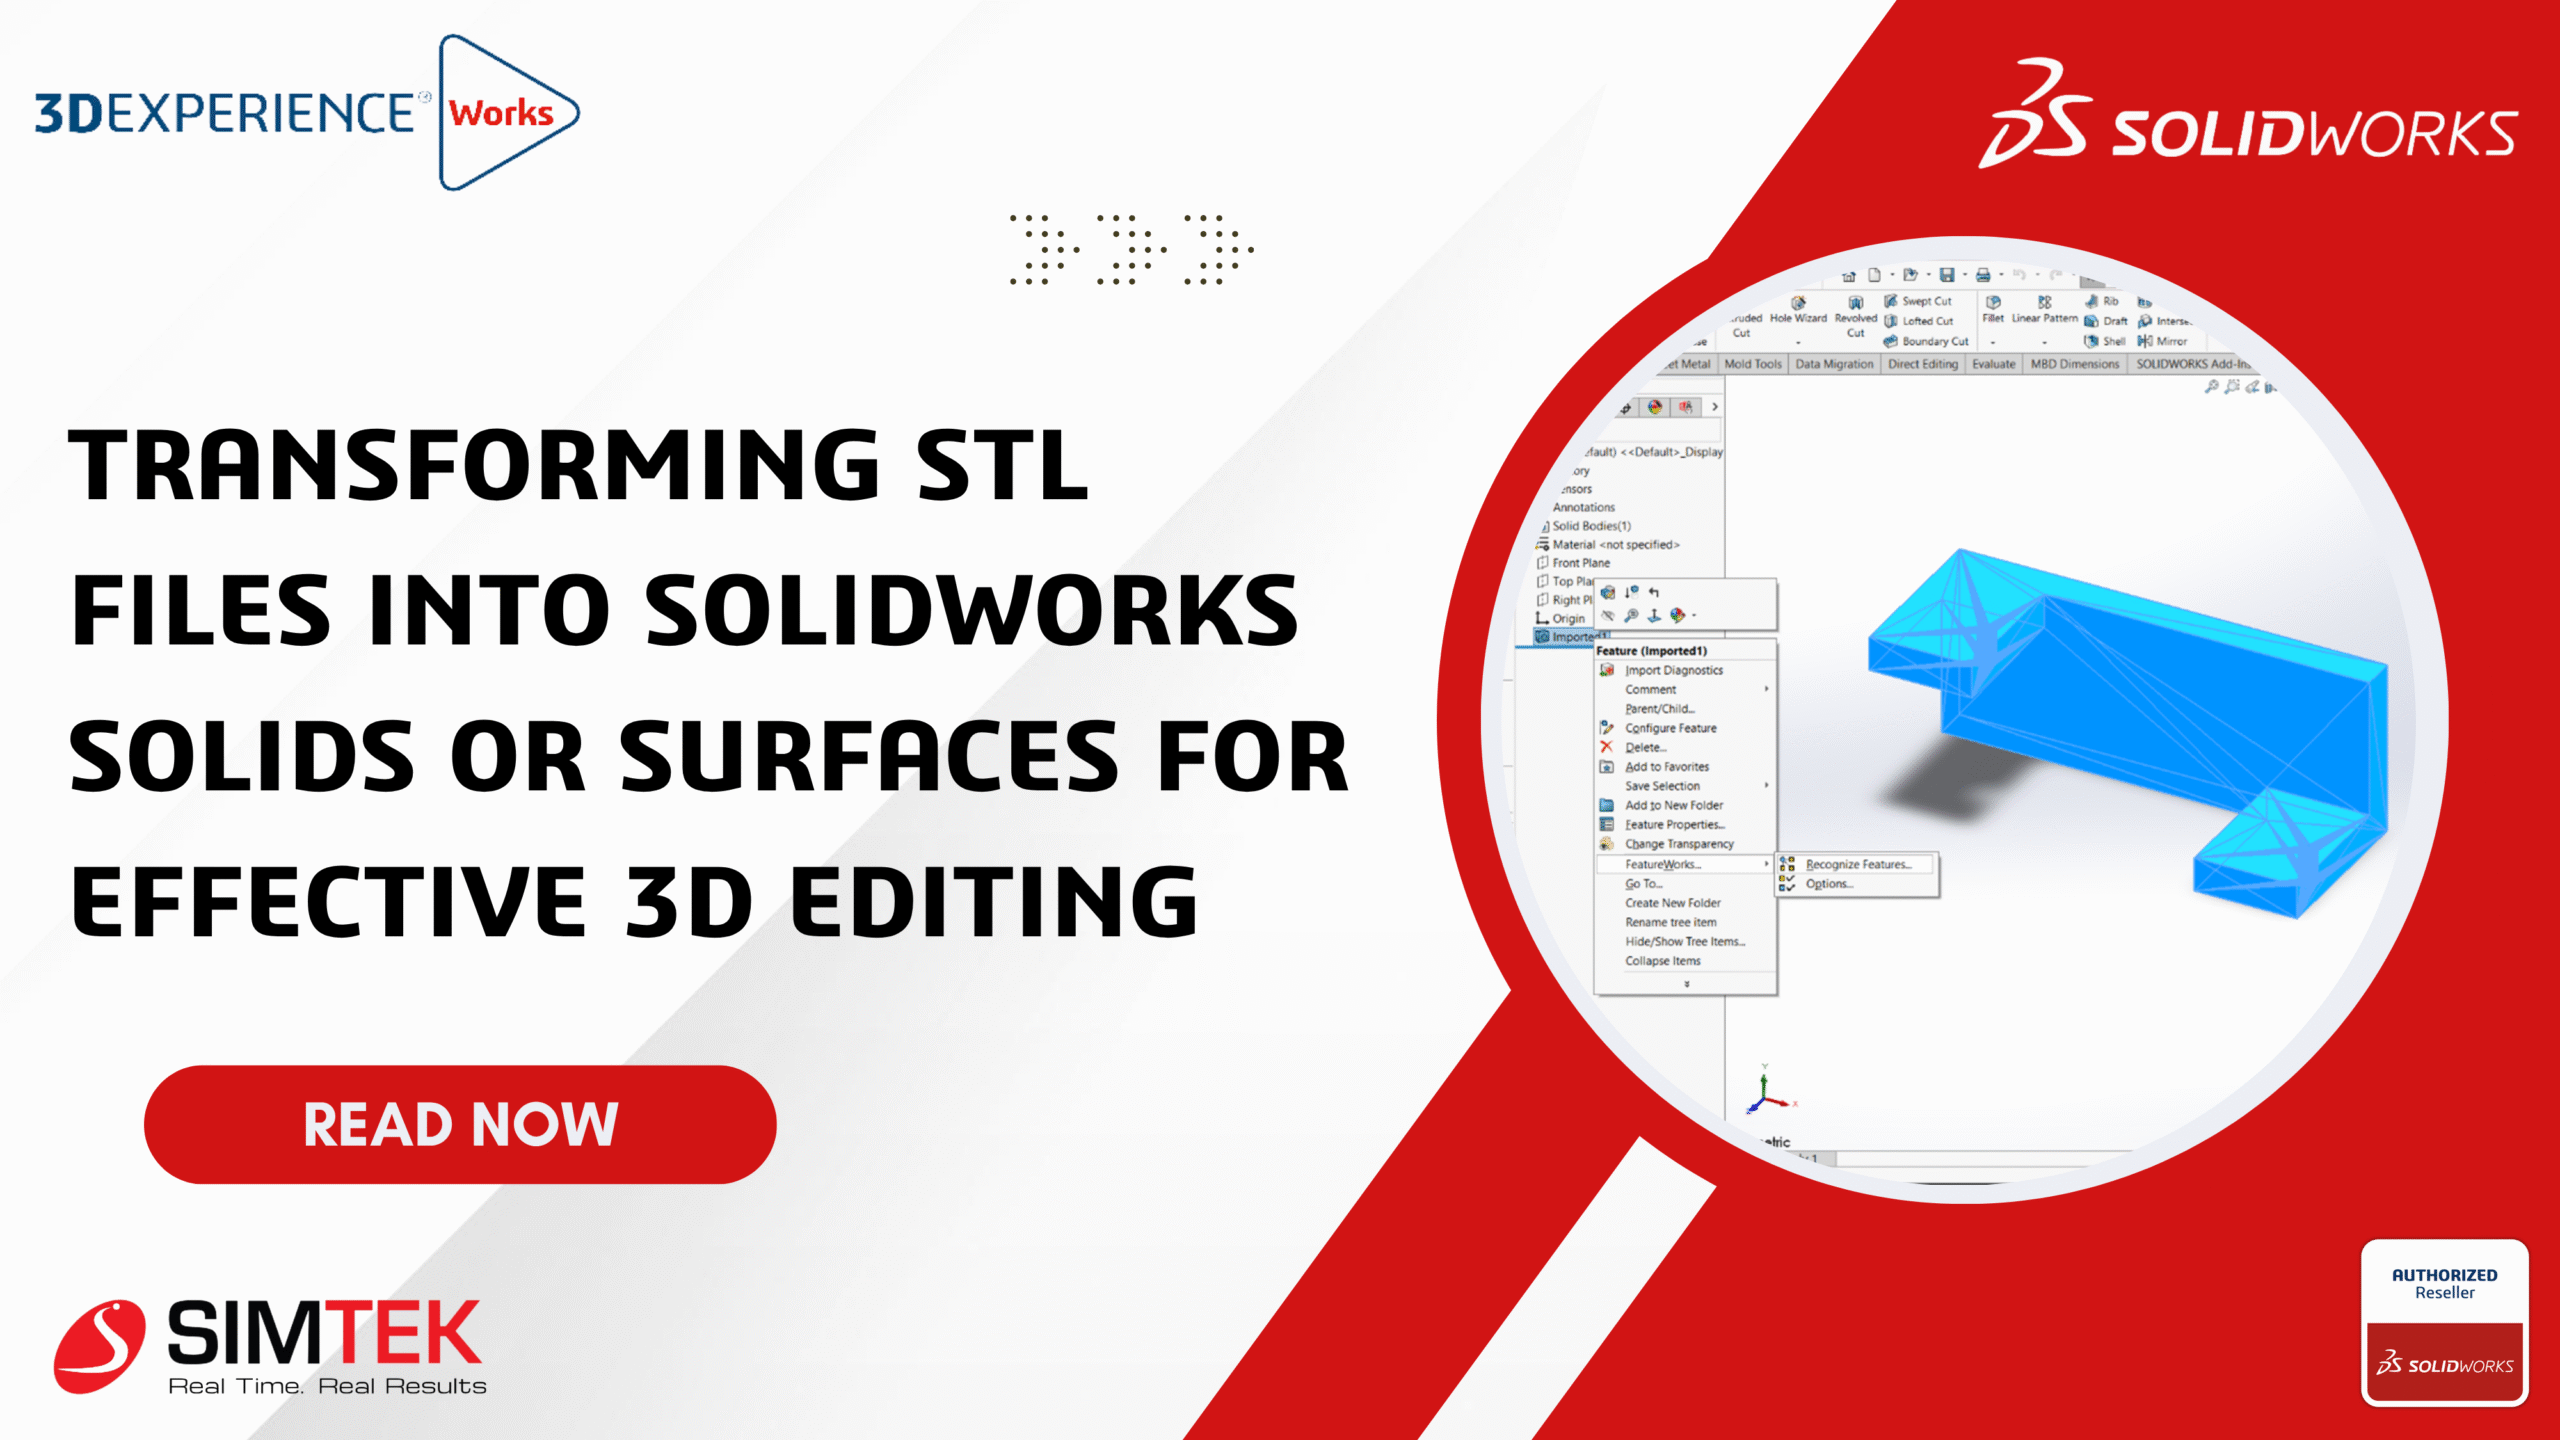
6. Now you can use the FeatureWorks > Recognize Features tool to convert the imported body into SOLIDWORKS features.
7.Click Finish or OK to complete the recognition process and update the model
8.In this example Two features have been recognized:
If you want, I can help summarize or explain differences between the SOLIDWORKS Desktop and the 3DEXPERIENCE Platform or guide you through key features and collaboration capabilities of each system. Just let me know!

