
Creation on Electrical projects in SOLIDWORKS 3D
Creating an electrical project has a few steps to follow. In this blog let’s see how to create an electrical project using SOLIDWORKS.

Creation of Wires, Components, connections points will consist of more points. Let’s see that in an upcoming blog. Here let us see how to add in electrical options and how to collaborate with SOLIDWORKS ELECTRICAL SCHEMATICS.
STEP 1
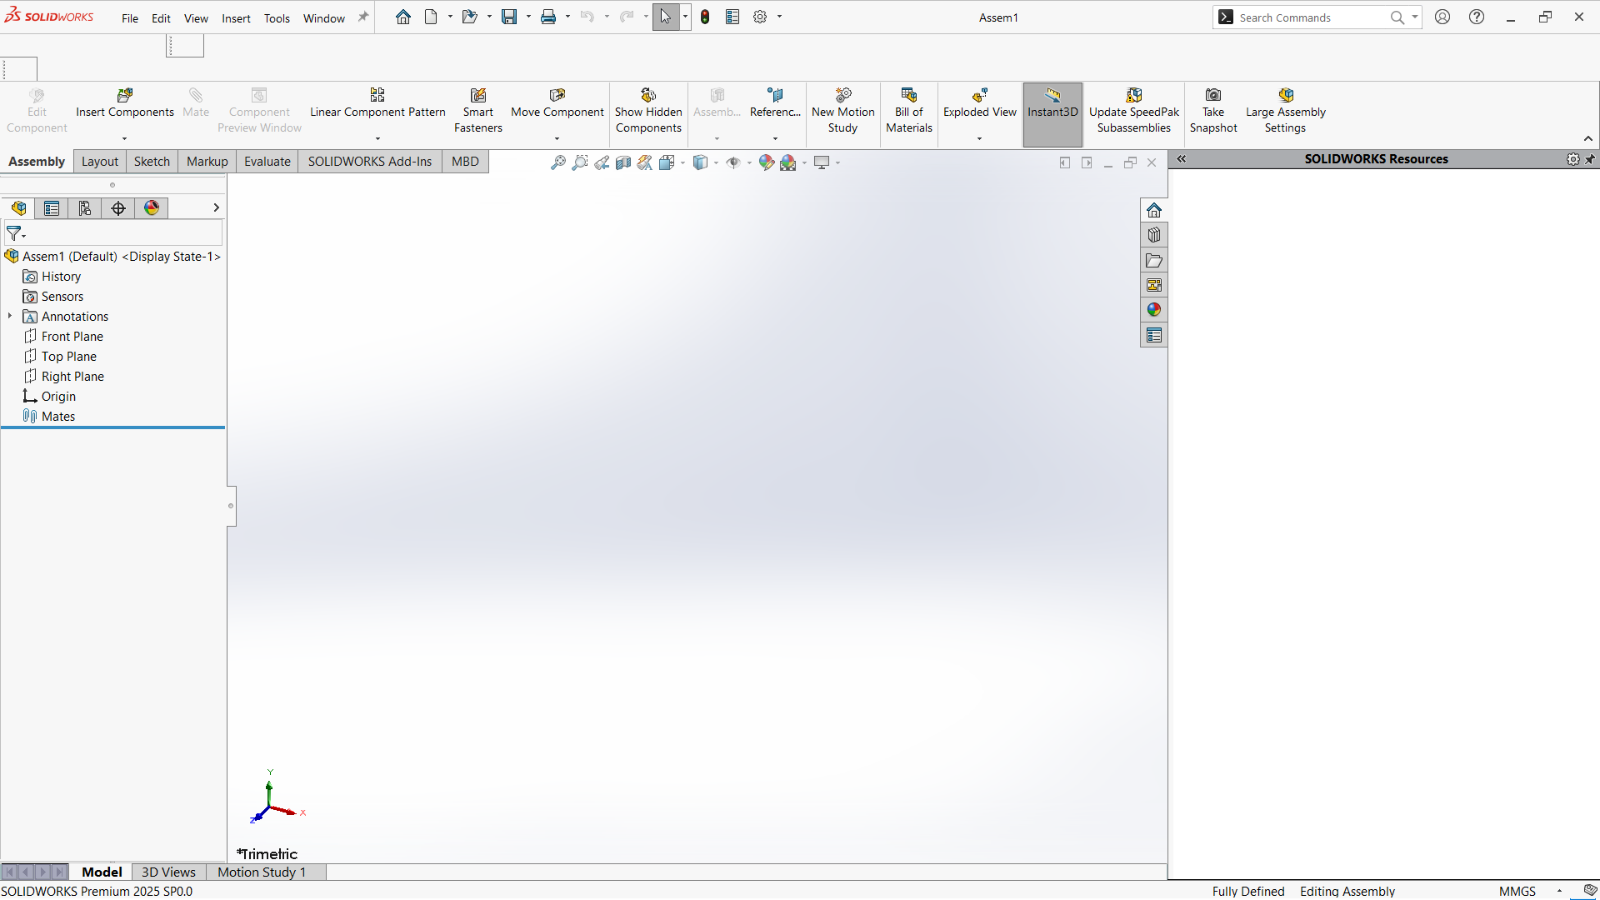
- AS shown in the below image.
- When an assembly is opened there will not be an electrical option.
- To add an electrical tab we have to add in the electrical option
STEP 2
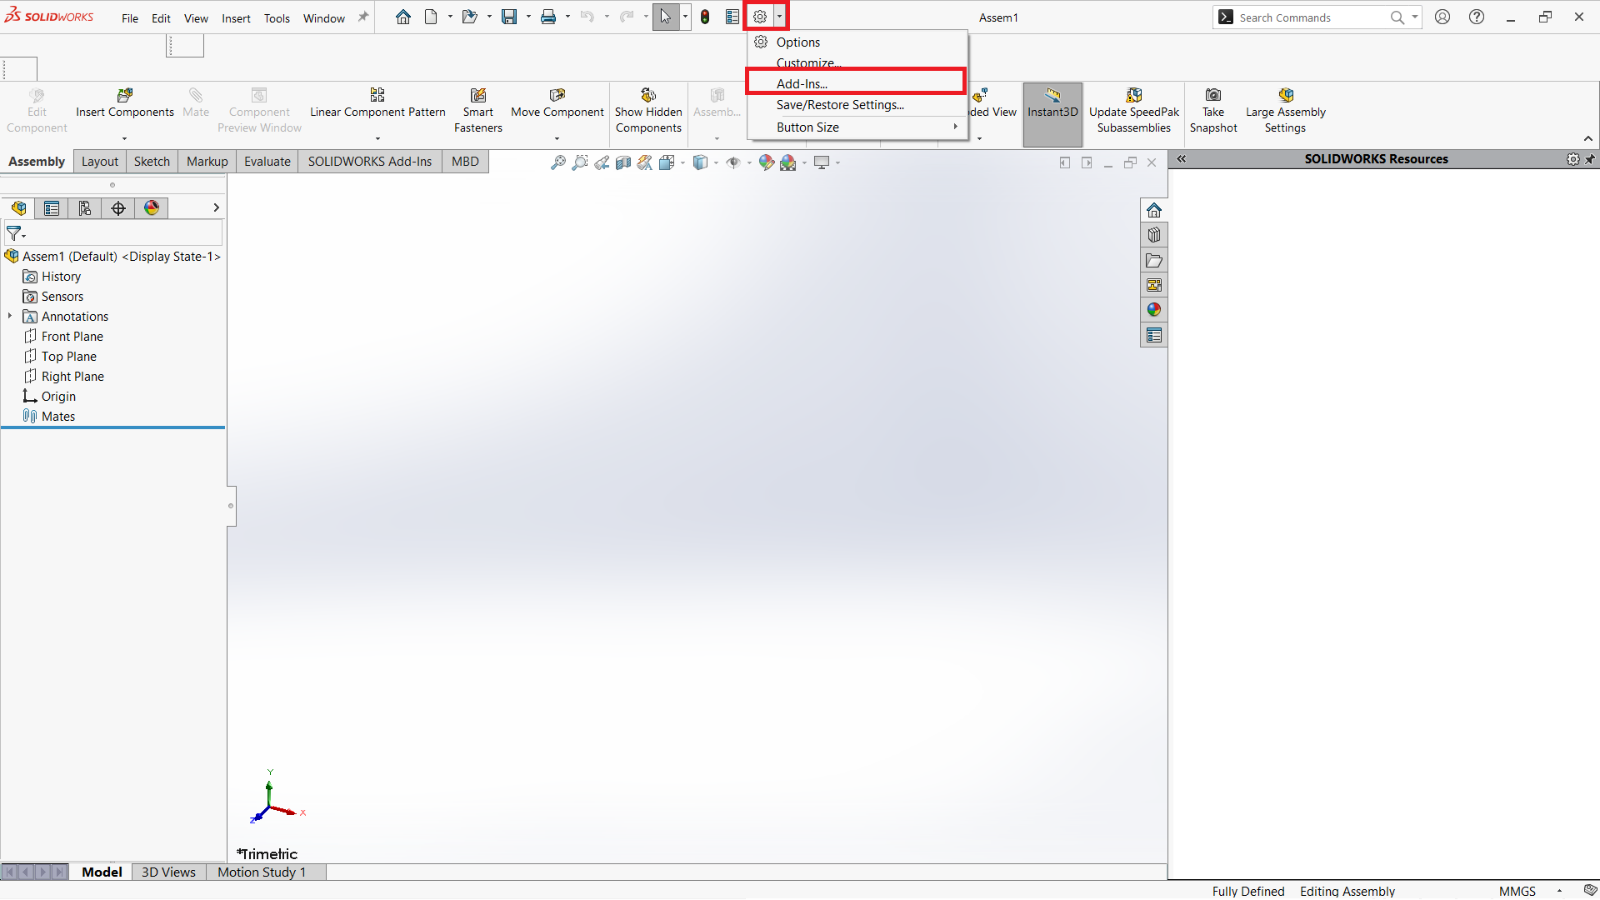
- The Add in option is available at the top.
- In the settings option with the drop down, Add in option will be found
STEP 3
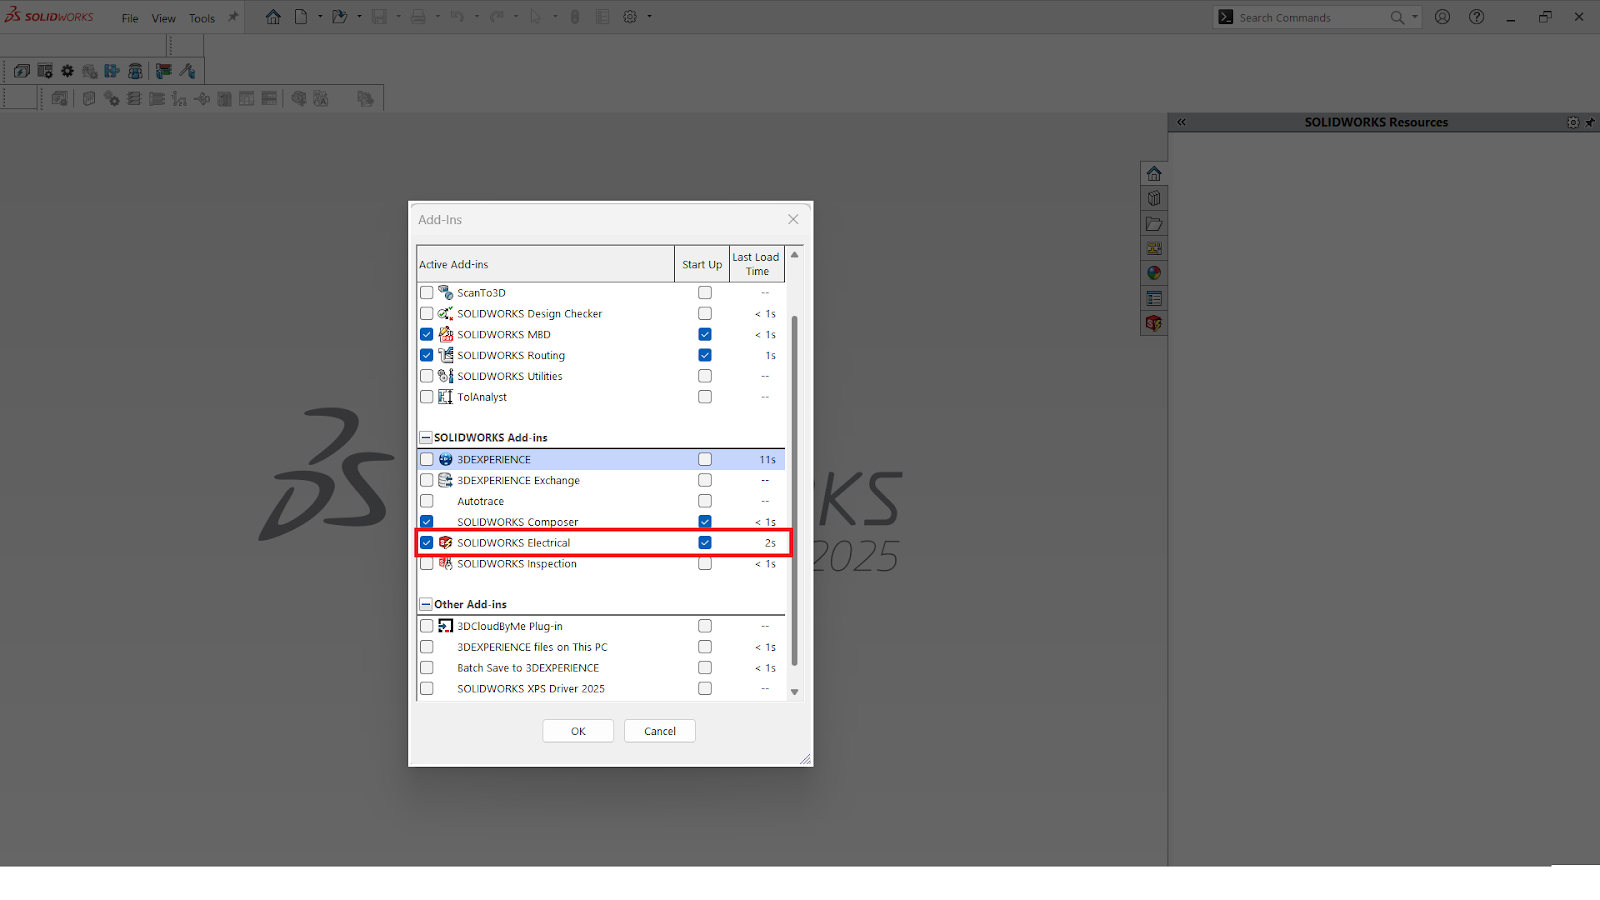
- With the below image as a reference
- SOLIDWORKS ELECTRICAL check box needs to be selected to turn ON the option.
STEP 4
- Once the options are selected a new tab, SOLIDWORKS ELECTRICAL 3D will be visible with the multiple options at the top.
- We’ll discuss those options in the upcoming blogs.
- Also, Solidworks electrical icon will be present at the right side where the project done on Solidworks electrical schematics can be opened.

Summary
- With a solidworks electrical schematic collaboration
- The above-mentioned points are possible to create a automatic wiring/Cabling done in a panel & machines in SOLIDWORKS 3D.