3DEXPERIENCE Dashboard
The 3DEXPERIENCE platform empowers users with a powerful tool: dashboards. These customizable interfaces provide a centralized location to access resources and content relevant to your organization’s activities. Imagine having all the information you need at your fingertips, organized to streamline your workflow. That’s the magic of 3DEXPERIENCE dashboards.
This guide walks you through the process of creating and customizing dashboards, putting you in control of your 3DEXPERIENCE experience.
Getting Started with “My First Dashboard”
Upon logging into 3DEXPERIENCE for the first time, you’ll encounter “My First Dashboard.” This serves as your launchpad, featuring pre-populated tabs like “Getting Started” and “Learn the Experience.” These tabs showcase available widgets and applications in action, giving you a taste of the platform’s capabilities.
Creating a New Dashboard
Ready to personalize your experience? Let’s dive into creating a new dashboard.
1. Locate the Dashboard Menu:
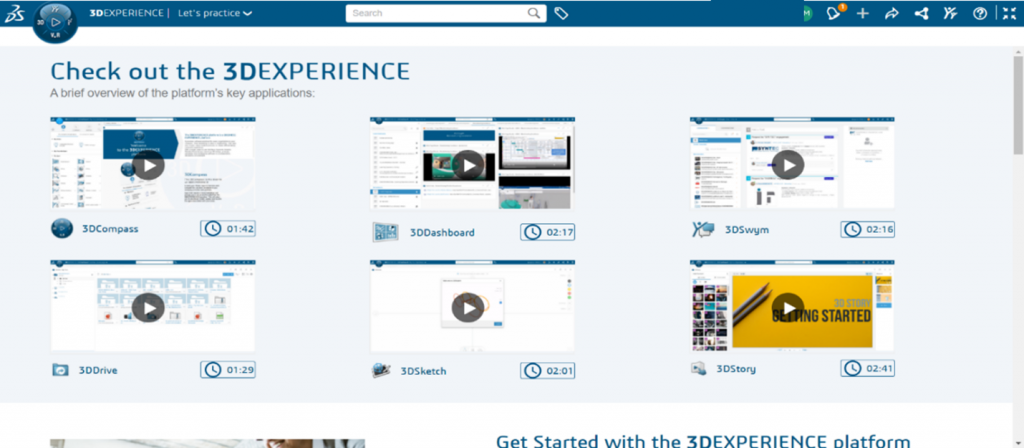
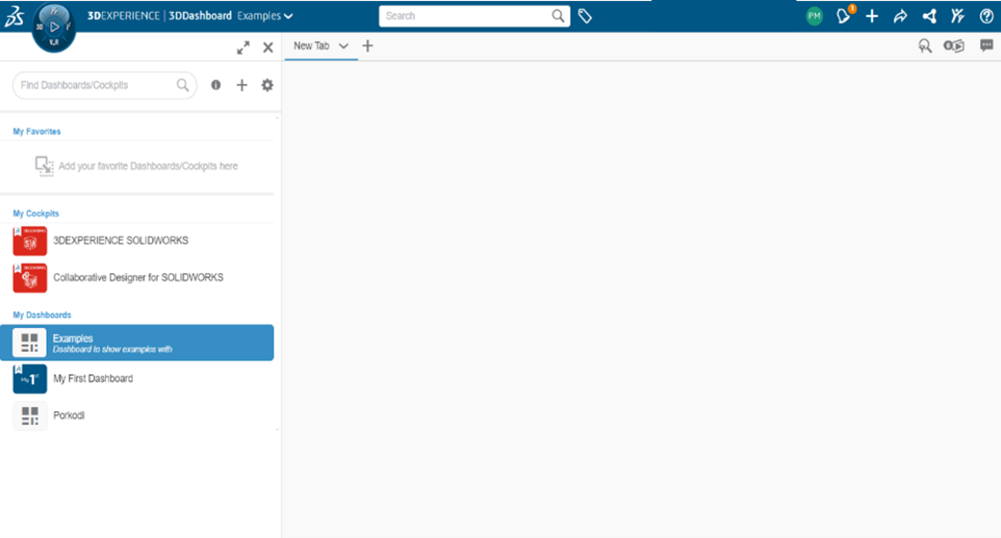
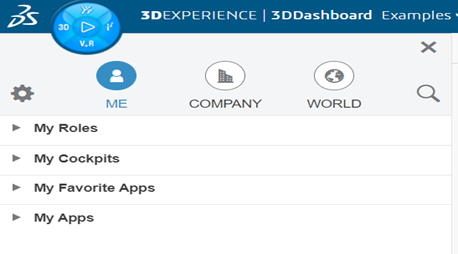
Navigate to the top left corner of the page, next to the Compass icon. Expand the “Dashboard and Cockpit Search” menu by clicking it.
2. Initiate Dashboard Creation:
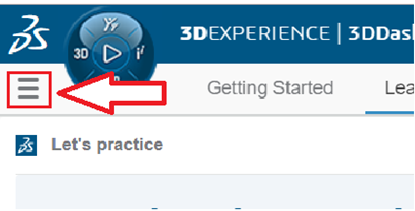
Click the plus sign (+) symbol displayed beside the search bar.
3. Choose Your Template (Optional)
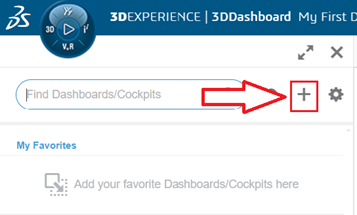
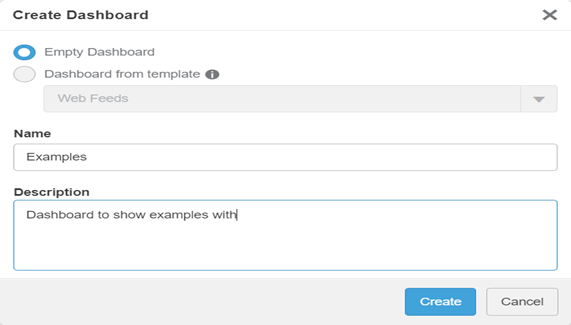
The “Create Dashboard” menu appears. Here, you can choose between a blank dashboard or leverage a template to jumpstart the process. Template availability depends on your assigned roles. Provide a name for your dashboard and an optional description to personalize it further. Once satisfied, click “Create” to bring your new dashboard to life. For this example, let’s create a blank dashboard named “Examples.”
4. Your New Dashboard Appears:
The newly created dashboard will populate the main view and be added to your dashboard list.
Customizing Your Dashboard with Tabs
1. Welcome to the New Tab:
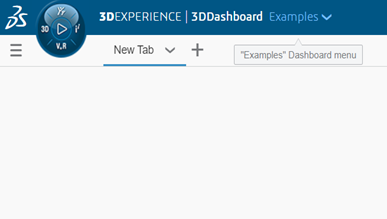
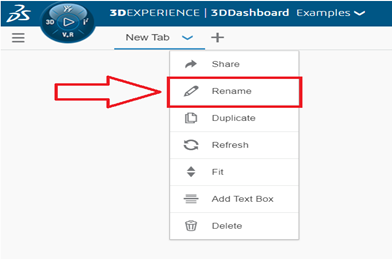
Upon creating a new dashboard, you’ll land on a blank “New Tab.” Rename this tab to reflect the tasks you intend to accomplish within this section.
2. Explore Roles and Apps:
Click the 3DEXPERIENCE Compass icon to explore the available Roles and Apps within the platform.
3. Identify Task-Specific Apps:
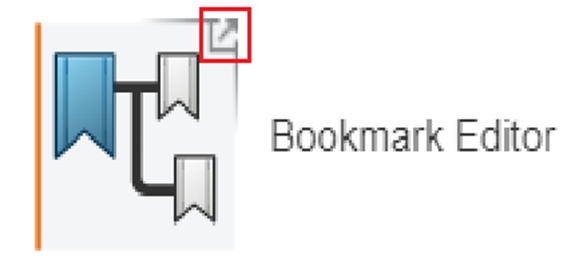
Locate the applications most relevant to your tasks. Widgets, identifiable by the arrow icon in their upper right corner, represent these applications.
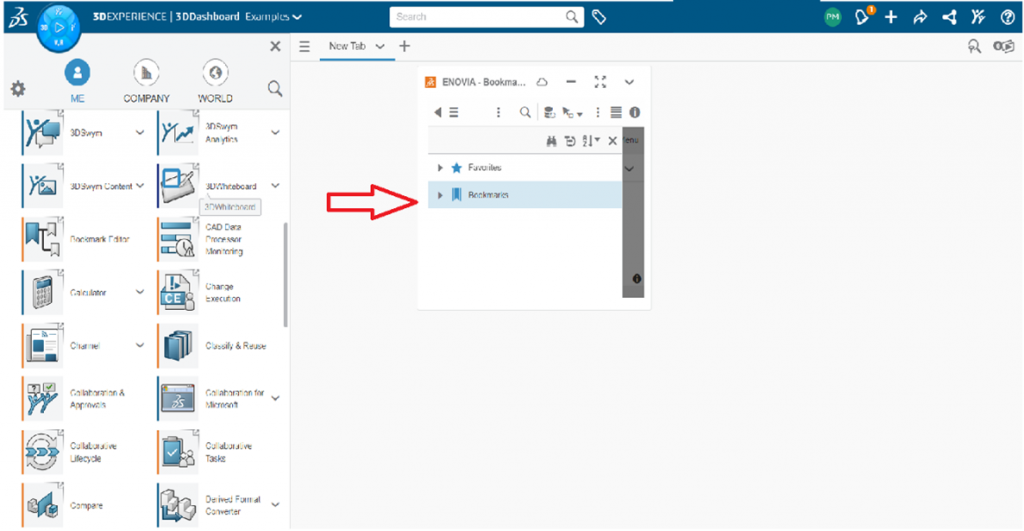
4. Drag and Drop for Seamless Integration:
Don’t hesitate to add widgets to your tabs! Simply drag and drop any widget you require onto the designated page.
5. Snapping to the Grid:
As you drag and drop widgets, observe how they attempt to snap to specific locations within the viewport, ensuring a clean and organized layout.
6. Widget Resizing and Rearrangement:
Widgets are not limited to their default square size. Feel free to rearrange and resize them to fit your preferences.
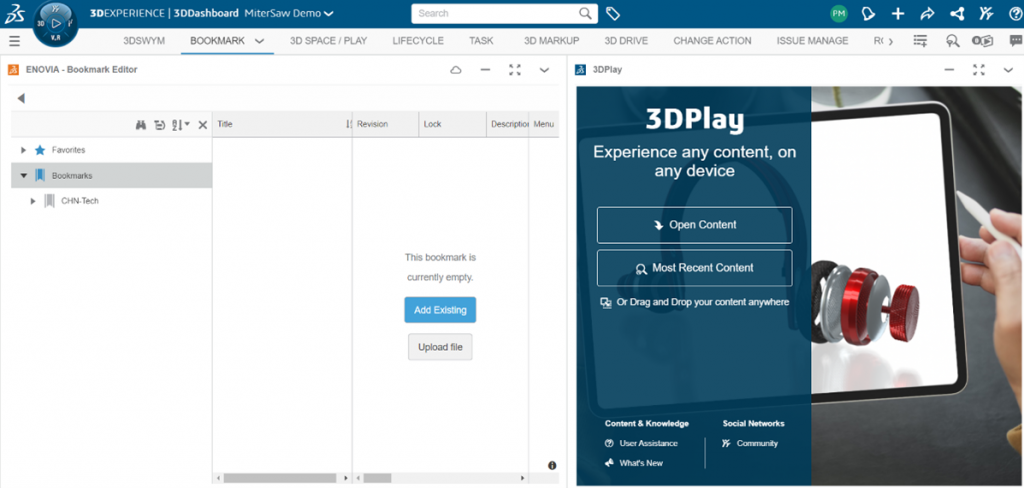
This guide equips you with the knowledge to create and personalize dashboards and tabs within 3DEXPERIENCE. With these custom dashboards, you can streamline your workflow, gain instant access to crucial information, and ultimately boost your productivity.

