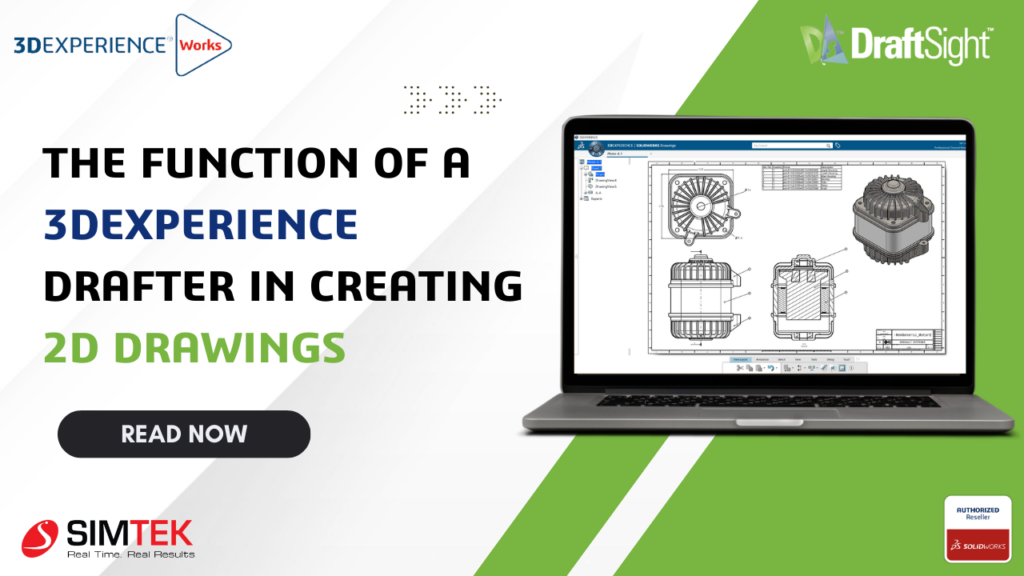
Drafter allows rapid creation of 2D Drawings from 3D models. Whenever you modify your 3D model, your drawings update instantly. With Drafter’s comprehensive, production-quality, 2D detailing capabilities, designers can easily annotate drawings and with data saved to the cloud, can share drawings in real-time.
With Drafter you can:
- Quickly generate drawings from your 3D parts and assemblies
- Easily apply dimensions, annotations and section views to your drawings
- Instantly update your 2D drawings to reflect any changes on your 3D models
Steps to creating the drafting:
Step 1: Access the 3DEXPERIENCE Platform
Login: Start by logging into the 3DEXPERIENCE Platform using your credentials.
Open the Drawings App: Navigate to the 3DEXPERIENCE Dashboards. In the dashboard, look for the 3DEXPERIENCE Drawings App
Open the Drafter and install the Drawings.
Note: Install the Drawings App
Step 2: Import a 3D Model
Importing 3D Model: If you already have a 3D model in formats such as SOLIDWORKS or other compatible formats, you can upload it directly into the 3DEXPERIENCE platform.
Step 3: Generate 2D Drawing
Select the 3D Model: Once your model is uploaded, navigate to the Drawings App and select the model you want to generate a 2D drawing for. After that, you will immediately see the drawings’ default views.
Click search and open to add views as well.
View Layout TypesView Palette, Projected, Auxiliary, Section,3D Clipping, Broken, Breakouts, Detail, Cropped.
Step 4: Add Dimensions, Annotations, and SymbolsAdd Dimensions: Use the tools in the app to add precise dimensions to the drawing. The system allows you to dimension various elements like lengths, angles, diameters, and radii.
Annotations and Callouts: Add any necessary annotations such as material specifications, part numbers, surface finishes, and any custom text or instructions for manufacturing.
GD&T Symbols: If needed, you can include Geometric Dimensioning and Tolerancing (GD&T) symbols to indicate specific tolerances or constraints for the part.
Step 5: Customize Drawing Templates and Title Blocks
- Title Block: You can customize the title block with information like the part name, project, and revision details.
Templates: Choose or create custom drawing templates to maintain consistency with your company’s standards.You can modify drawing sheets, paper sizes, and layout preferences.
Step 6: Update and Modify Drawings Automatically
- Model Updates: If any changes are made to the 3D model, the 2D drawing will automatically update to reflect those changes.
- No Manual Redrawing: You don’t have to manually adjust your 2D drawing whenever the 3D model changes, as the app maintains the connection between them.
Advantages:
- Time saving: Drawing creation is automated based on the 3D model, which reduces manual work.
- Consistency: The app ensures that your 2D drawings are always aligned with the 3D model, minimizing discrepancies.
- Real-Time Collaboration: Teams can work together, share feedback, and maintain version control in a unified system.

