
In today’s fast-paced design environment, clear and efficient communication is paramount. Imagine a world where highlighting design issues, sharing feedback, and collaborating with colleagues becomes effortless.
This is the power of 3D Markup within the innovative 3DEXPERIENCE platform. It empowers users to streamline the review process, eliminate communication roadblocks, and foster seamless collaboration throughout the design cycle.
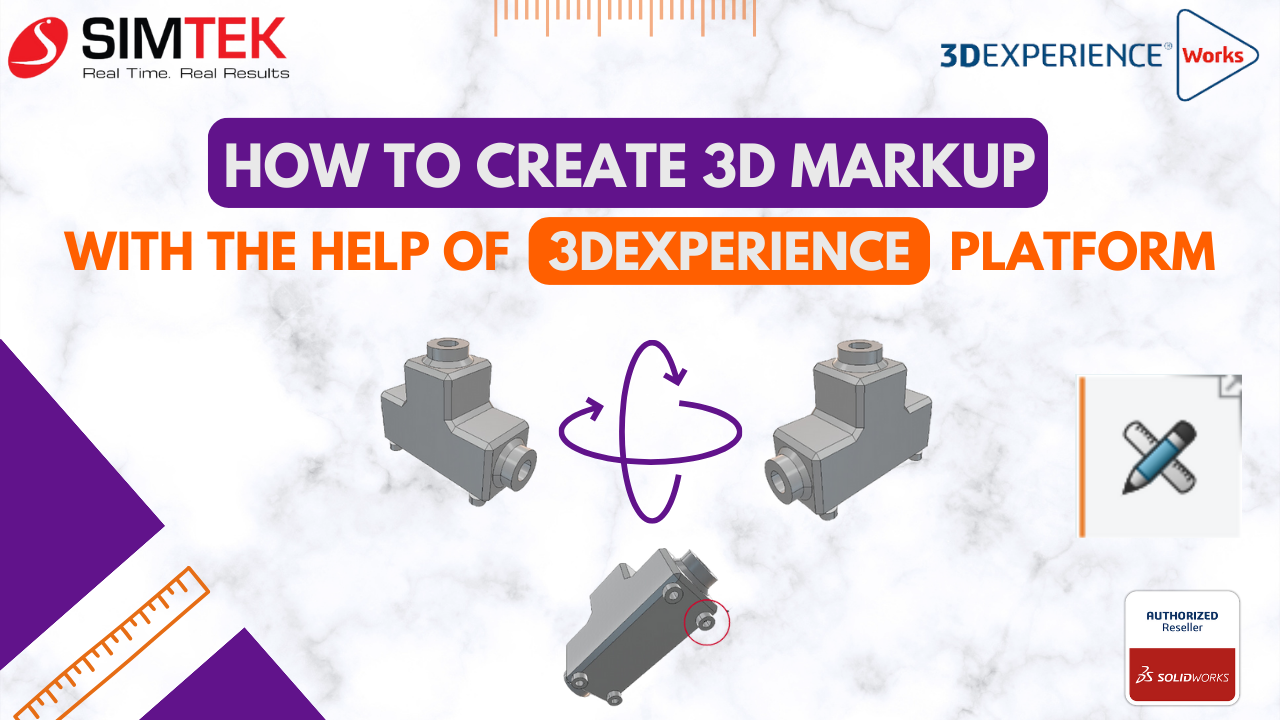
This blog post will guide you through the creation and utilization of 3D Markups, allowing you to leverage the full potential of this valuable tool within the 3DEXPERIENCE platform.
Get ready to revolutionize the way you communicate design ideas and dramatically improve project efficiency!
Accessing 3D Markup:
Before diving into creating markups, let’s explore how to access the 3D Markup application within the 3DEXPERIENCE platform:
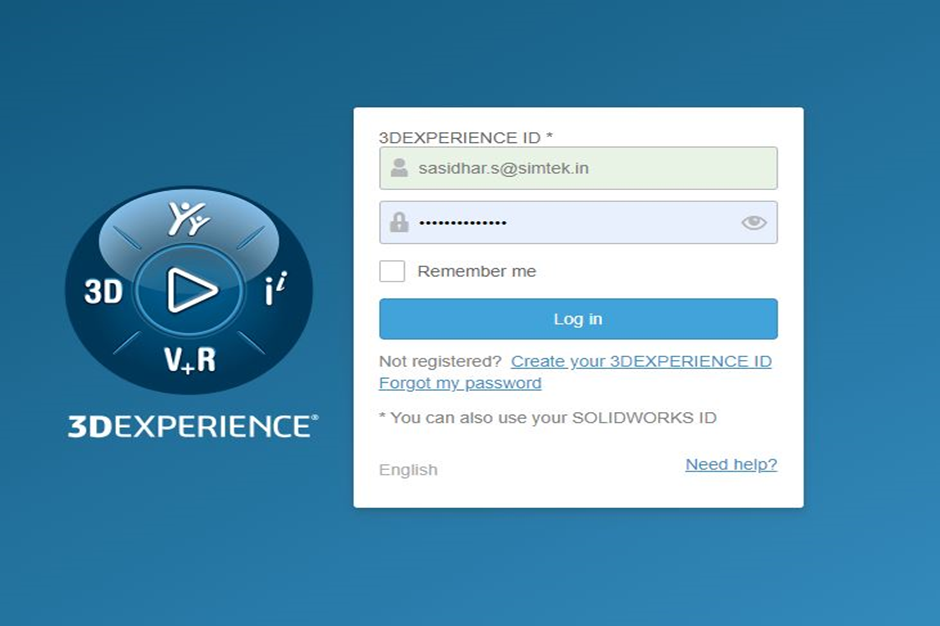
- Open the 3DEXPERIENCE Platform: Head to Google Chrome and launch the 3DEXPERIENCE platform webpage.
- Login with your Credentials: Use your 3D Passport login credentials to access the platform.
- Finding 3D Markup: There are two ways to access 3D Markup. You can either open it directly from the Compass icon or drag it to your dashboard for easy future access.
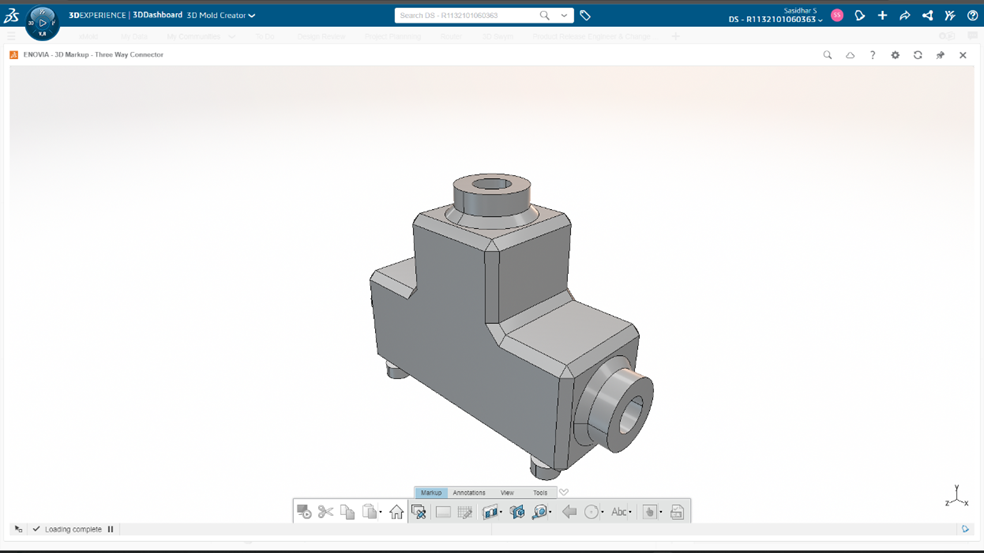
Creating a New Markup:
Now that you’ve accessed 3D Markup, let’s create a new markup to highlight design elements and communicate your ideas:
- Initiate a New Markup: Within the Markup tab, locate and select the “Markup” icon to create a fresh markup.
- Select Your File: It allows you to work with various file types. Choose the component, existing markup, drawing, or any other approved file type you want to annotate.
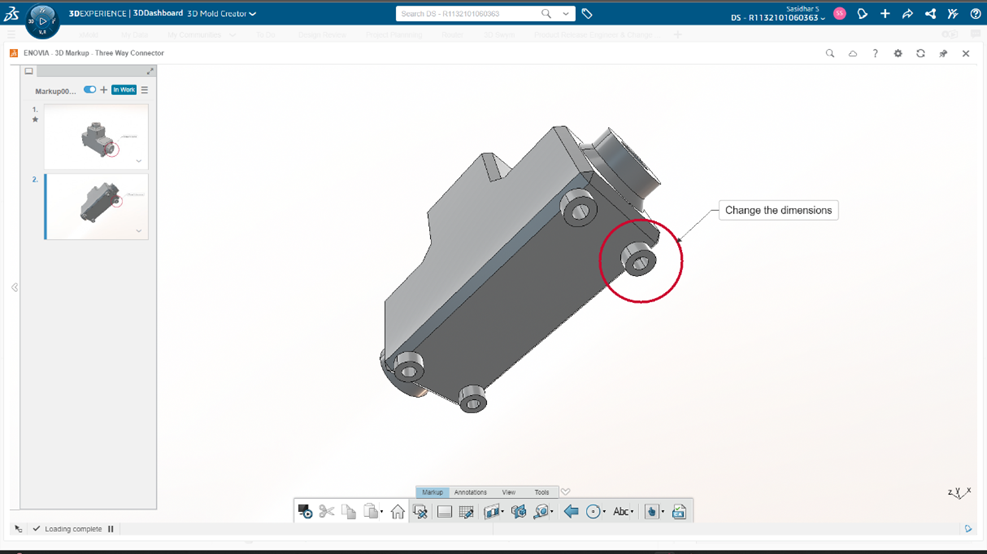
Enriching Your Markup:
With your file selected, it’s time to add value through annotations:
- Include Notes and Annotations: Clearly communicate your ideas by incorporating essential notes, shapes, or annotations directly onto the 3D model.
- Save as Slides: Organize your markups for clear and efficient information sharing by saving them as slides.

Additional Features of 3D Markup
3D Markup offers even more functionalities to streamline your design review process:
- Issues and Change Actions: Facilitate efficient problem-solving by creating Issues and Change Actions directly within the markup.
- Share with the Community: Capture screenshots of your markups with ease and share them with the 3DSwym community, fostering a platform for exchanging ideas.
- Seamless Transition to 3DPlay: After adding notes and annotations, simply switch to the 3DPlay application for further analysis while keeping the document active.
Creating Markups Directly from 3DPlay:
Here’s a bonus tip: Did you know you can also create markups directly from within 3DPlay? Simply access the “Annotations Commands” icon in the Tools menu of the 3DPlay window to generate annotations similar to those made in It.
By incorporating these steps and exploring the functionalities of 3D Markup, you can significantly enhance communication and collaboration within your design projects.